How to shrink a Raspberry Pi image from a SD-Card


How to shrink a Raspberry Pi image from a SD-Card
Here I will show you how to successfully shrink a Raspberry Pi image. Who doesn’t know this: You’ve set up your Raspberry Pi, and now you want to create an image from it to make future installations easier. You’ll need a Windows PC and a Linux system (Debian, Ubuntu, Raspbian OS, etc.). I used Raspbian OS in a virtualized environment. If you only have a Windows server, download Oracle VirtualBox and install Raspbian OS on it. Make sure you allocate enough storage space so that you can upload the image.
Install Win32DiskImager
Install the freeware Win32DiskImager on your Windows computer. You can find the download link here.
Shut down your Raspberry Pi properly, remove the SD card, insert it into a card reader connected to your Windows computer, and find the drive letter of the memory card.
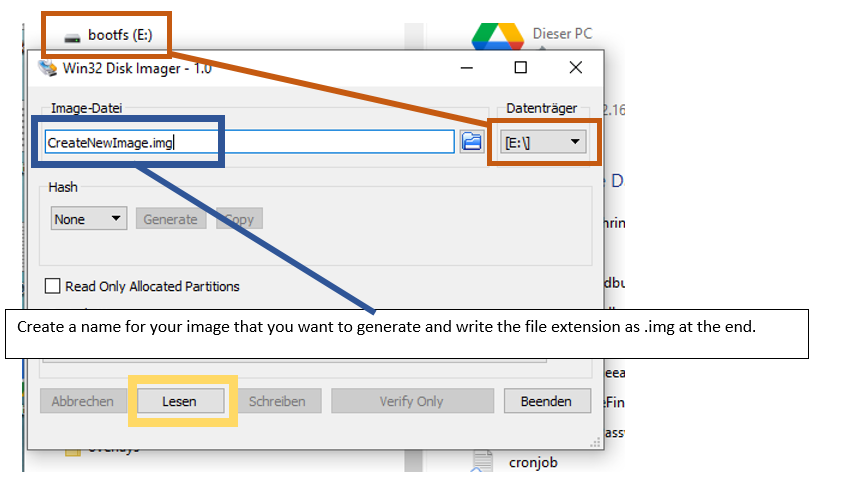
Start Win32DiskImager
Choose the correct drive letter, assign a name to your image, and click 'read'.
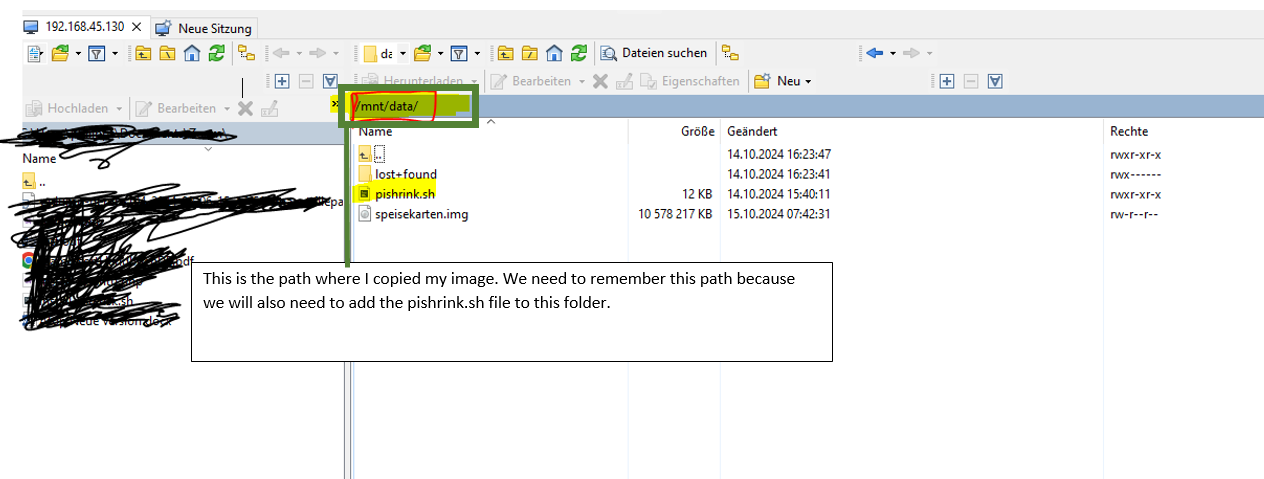
Copy the Image File to a Linux System
After creating the image, copy the image to the Linux system. As I mentioned before, I am using Raspbian OS running in a virtual environment. I connected to the Linux system using the software WinSCP, which you can download here, and I used this software to copy the image to the Linux system.
Connect to your Linux system
Now, connect to your Linux system. I am using the software PuTTY, which you can download here.
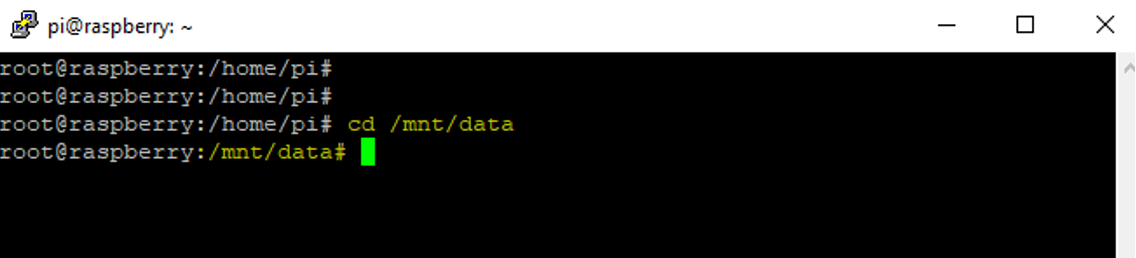
Go to the folder where your image is, which you want to shrink. This is very important because we will also add the pishrink.sh script to this folder by downloading it.
Install pishrink along with all the necessary additional packages.
To proceed, we need root privileges, which can be obtained using sudo. If sudo is not installed on your system, you can click here to install it.
Install all the required packages by running the following command:
sudo apt update && sudo apt install -y wget parted gzip pigz xz-utils udev e2fsprogssudo apt install git curl bc qemu-user-static -yNow, let's download the script for PiShrink:
wget https://raw.githubusercontent.com/Drewsif/PiShrink/master/pishrink.sh
Now, the pishrink.sh file and the image are in the same folder. Next, we can run the command to shrink the image:
sudo ./pishrink.sh -s YourImage.img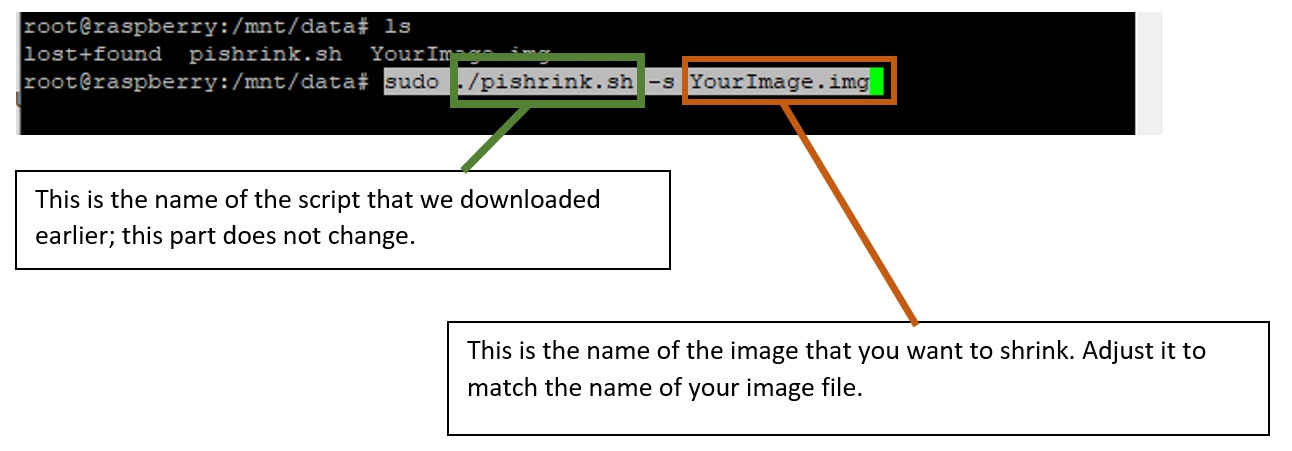
The shrinking process starts, and you can write the shrunk image back to an SD card using Win32DiskImager.
