ITfourALL

Mastering Network Setup in Proxmox:
This guide provides an overview of the fundamentals of network setup in Proxmox. Whether you're new to Proxmox or looking to refine your networking skills, this tutorial covers key concepts and practical steps to effectively configure and manage networks in a Proxmox environment.
Proxmox Networking: Linux Bridge vs OVS Bridge
1. Linux Bridge
Overview: The Linux Bridge is a standard network bridge integrated into the Linux kernel. It's simple, stable, and sufficient for most standard networking needs in Proxmox.
Features:
- Ease of Use: Easy to set up and manage, especially for users familiar with traditional Linux networking.
- Performance: Provides good performance for most use cases.
- Compatibility: Well-supported and works seamlessly with most network configurations and Proxmox's default setup.
Use Cases: Suitable for most Proxmox environments where complex networking features are not required.
2. OVS Bridge (Open vSwitch)
Overview: Open vSwitch (OVS) is an advanced and flexible software-based network switch designed to provide powerful network automation and advanced networking features. It’s particularly useful in environments requiring sophisticated networking setups.
Features:
- Advanced Features: Supports VLAN tagging, network automation, and fine-grained network control.
- Scalability: More scalable and suitable for complex or large-scale virtualized environments.
- Integration: Better suited for Software-Defined Networking (SDN) and environments where integration with network management tools is required.
- Performance: May offer better performance in high-traffic environments due to more efficient packet handling, but it can also add complexity.
Use Cases: Ideal for advanced networking setups, such as cloud environments, large data centers, or when integrating with SDN solutions.
Network Configuration Example
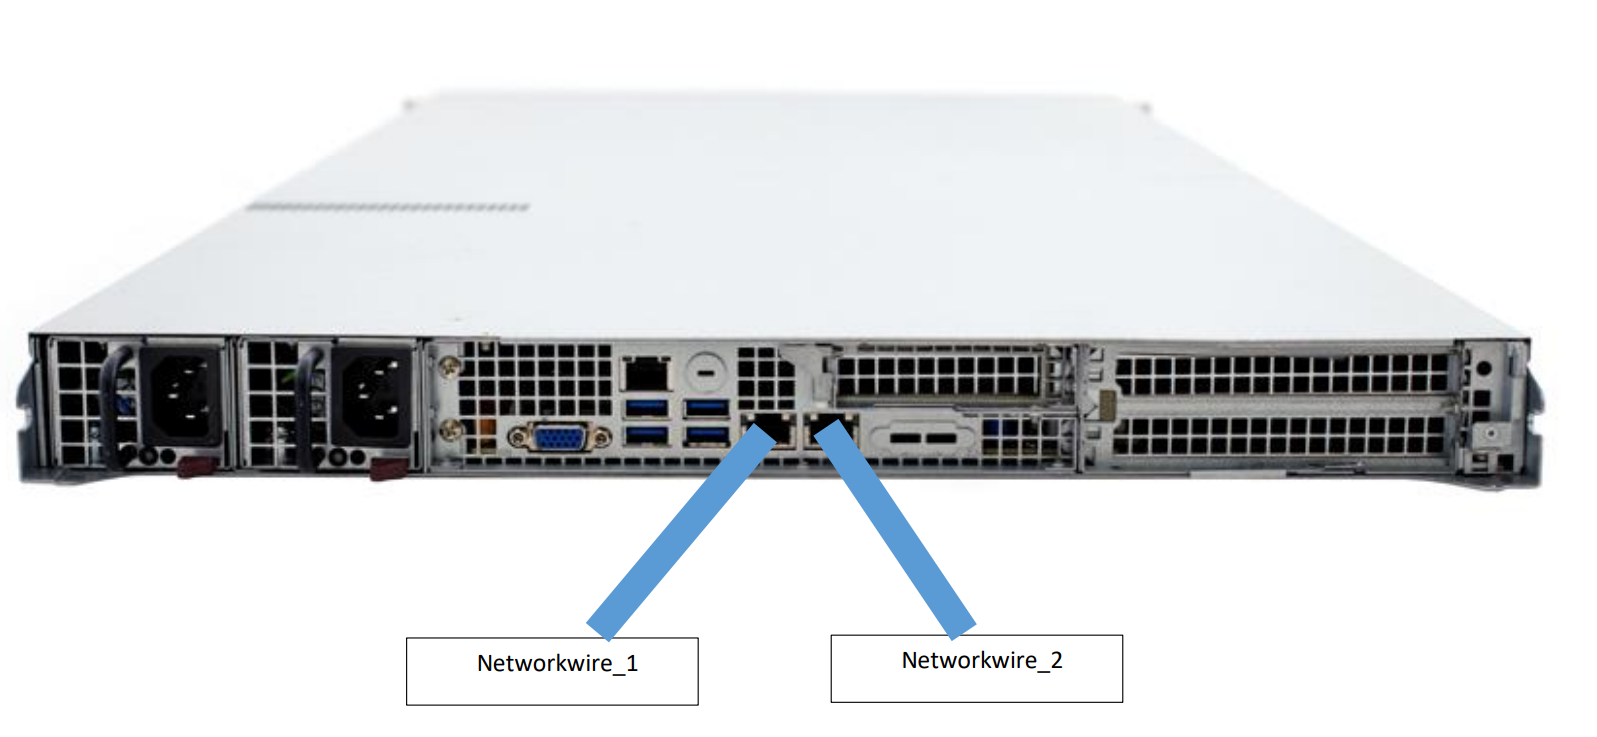
In this example, I have connected two network cables:
1. Management Cable: This cable is used for the management address, which is how we connect to the Proxmox server.
2. Trunk Cable: This cable serves as the trunk line, carrying the VLANs that are needed for my virtual machines. The VLANs are tagged on this trunk line.
This setup allows for efficient separation of management and data traffic, ensuring that each network connection serves its dedicated purpose.
When installing Proxmox, we had to select a network card on which the network is available for the management address. The system then automatically created a Linux Bridge, and the physical network card of my server in this case has the designation enp0s3.

But we want access to the VLANs from the trunk connection. We use the OVS Bridge for this.

Before we can use the OSV Bridge, we need to install it. To do this, open the terminal and update the system.
apt-get update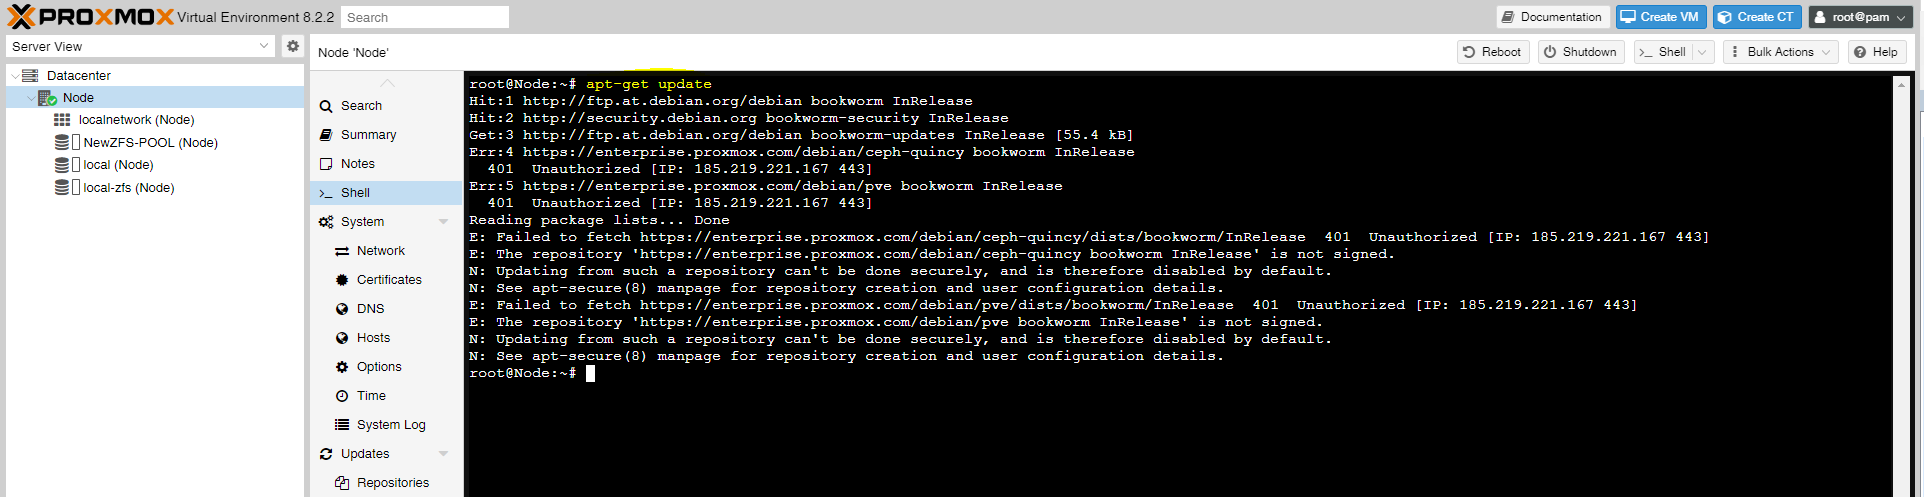
Now, we can install all the required packages.
apt-get install openvswitch-switch
When everything is installed, we restart the network service.
systemctl restart networking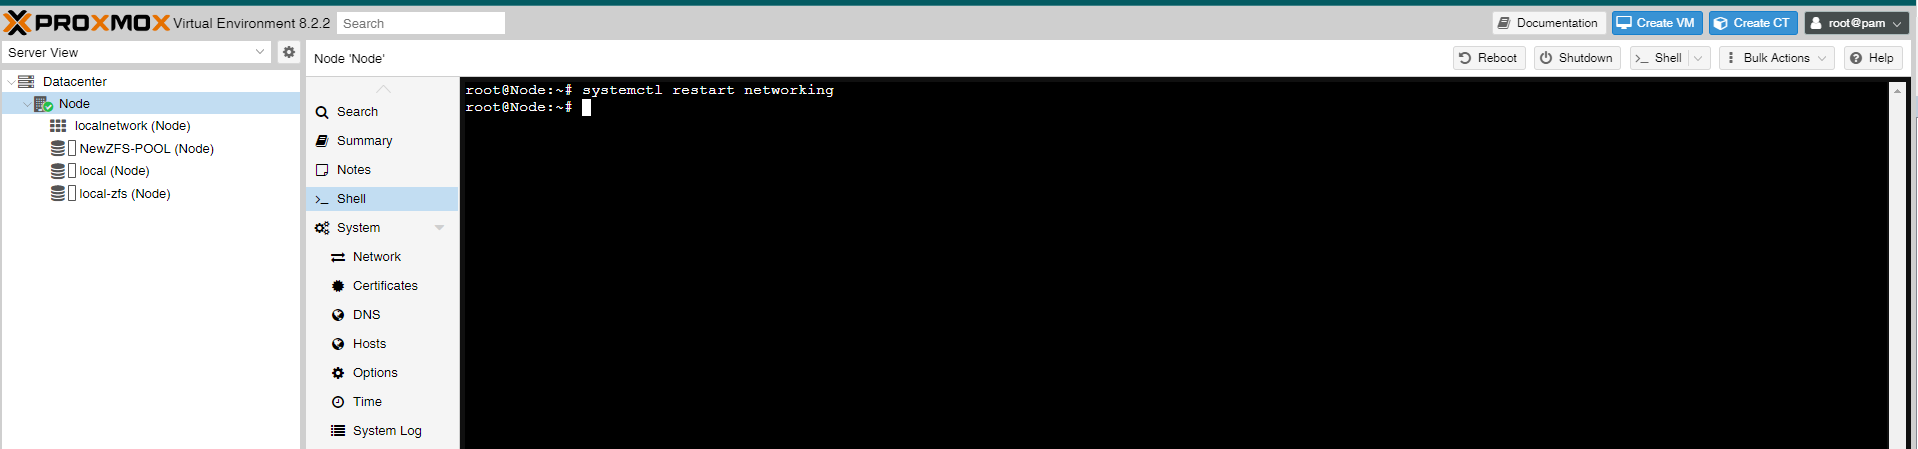
Now we create a new OSV Bridge.
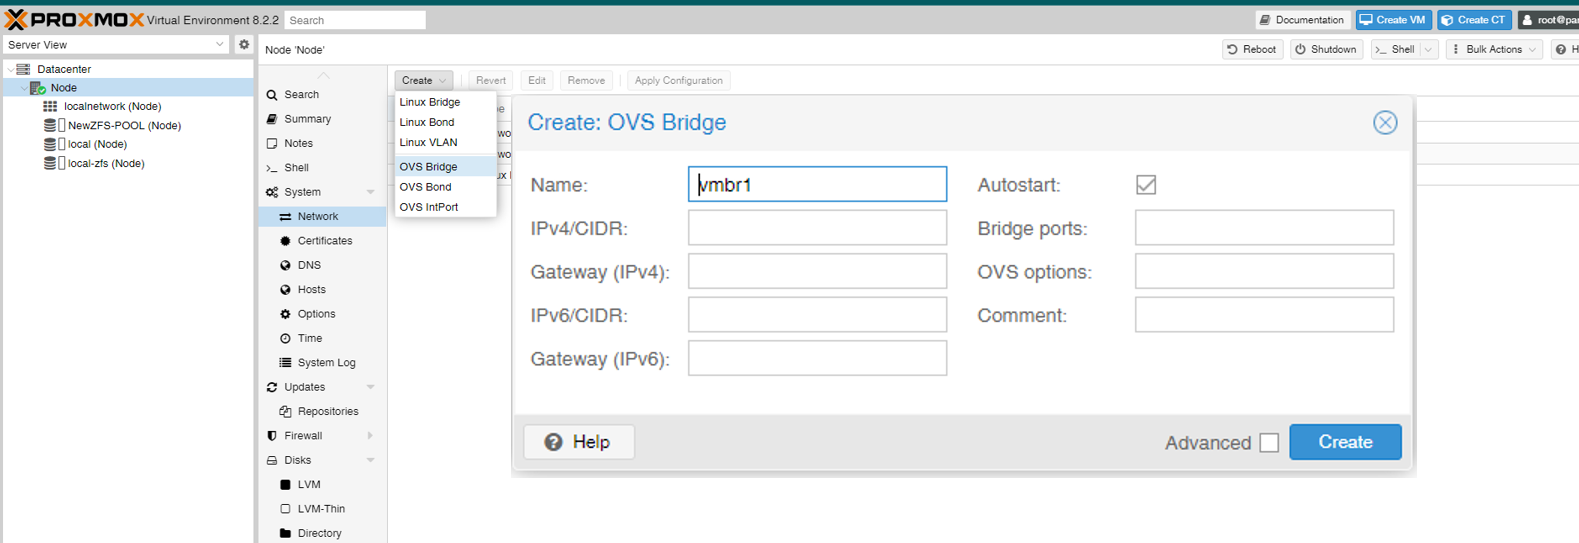
Now we need to assign the physical network adapter to the Virtual OSV Bridge. In this example, it is the enp0s8 where our trunk connection is also connected. If you have several network adapters, you must try to find out what the designation is in Proxmox. You can use the exclusion method or look for hints in the server manual.
Now we write the name of the network adapter in the Bridge Ports field: the physical adapter is now connected to the virtual bridge.
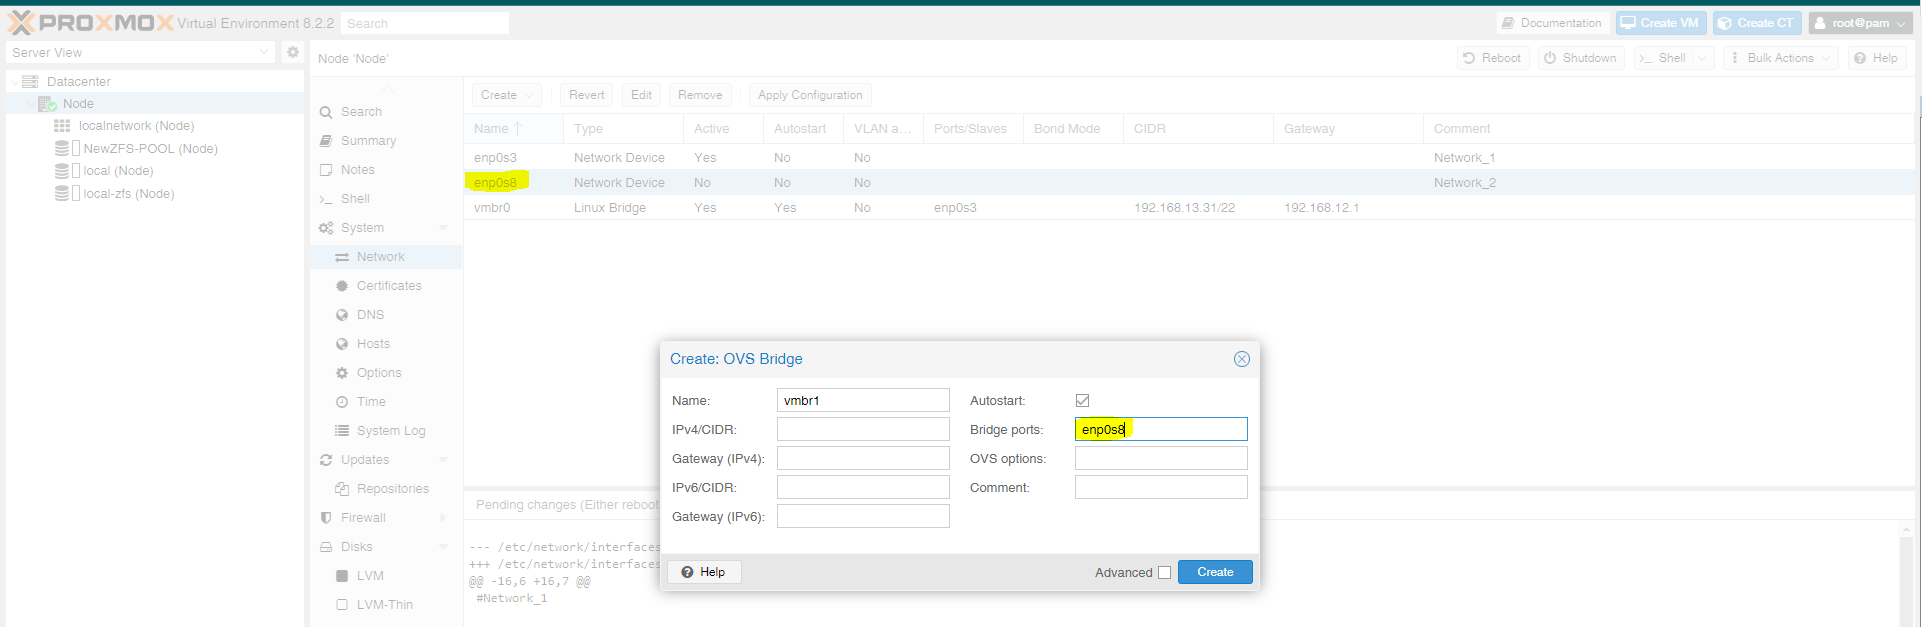
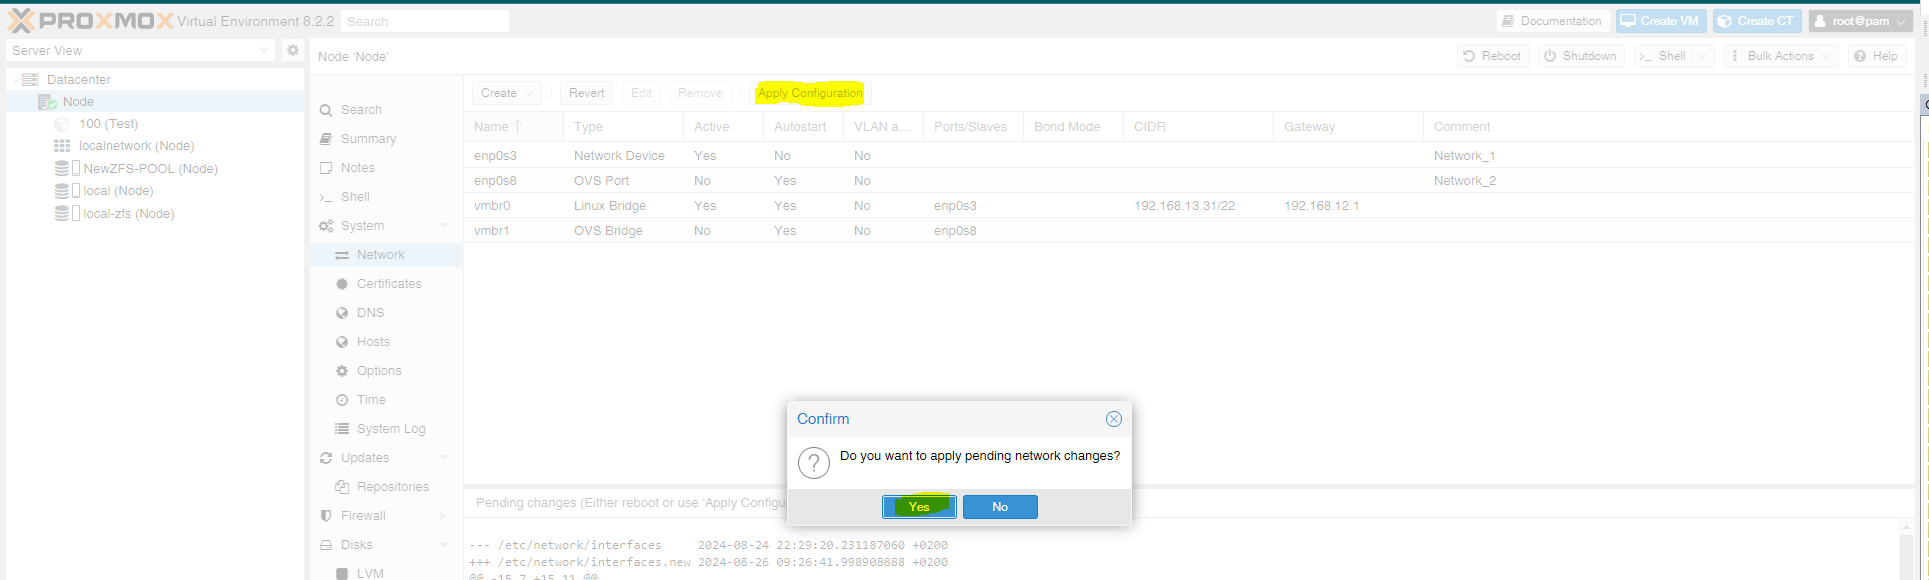
The OSV Bridge is now available.

We must then apply the changed system settings by clicking on Apply Configuration.
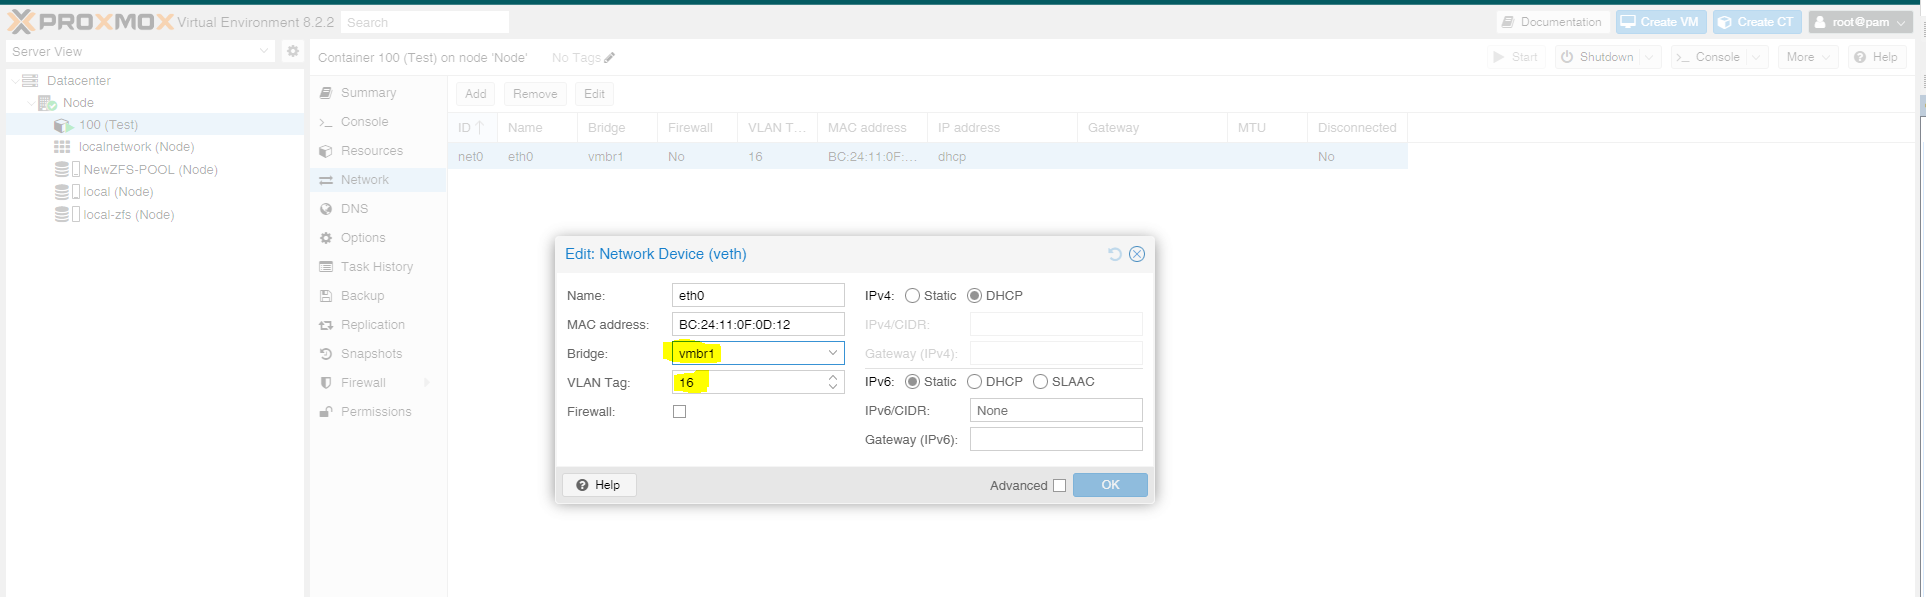
Now we can select the new OSV Bridge for the virtual machines and enter the desired VLAN ID. The virtual machine will now have access to this VLAN.