Create a full backup with Clonezilla


Step-by-Step Tutorial: How to Create a Full Backup with Clonezilla
Here, I will show you how to create a backup of your computer and restore it on another machine. This method is also perfect for migrating virtual machines. Suppose you have a virtual machine running on Hyper-V and want to migrate it to Proxmox. It works perfectly!
First, I will show you how to save your image from the computer to a second hard drive or an external hard drive. Then, I will demonstrate how to store your backup on a Linux server with SSH enabled and how to restore it. This method is well-suited for backing up virtual machines, as it is often difficult to mount external storage.
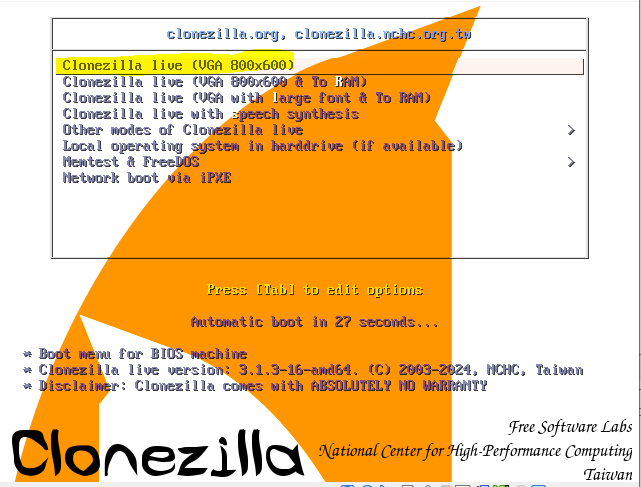
Start CLonezilla Live CD
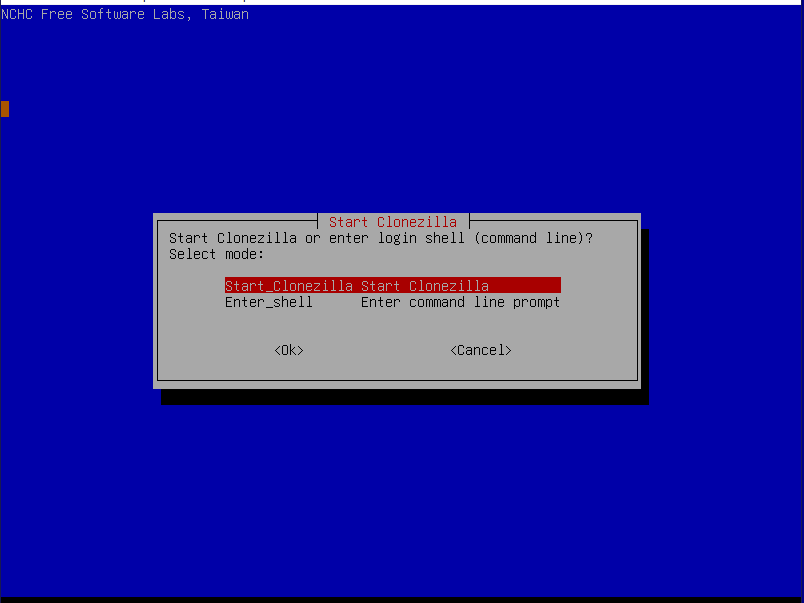
Start your Clonezilla Live image and launch the software.
Use the Tab key to navigate for selection.
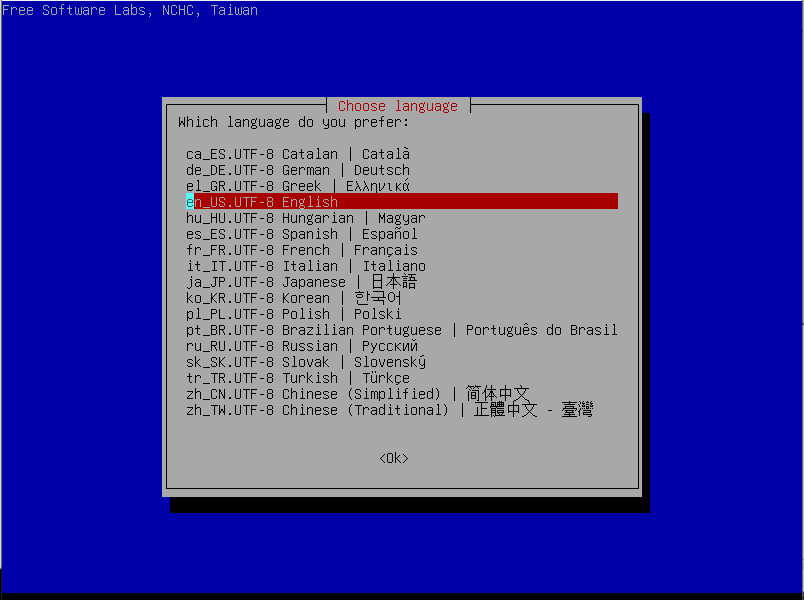
Select a language
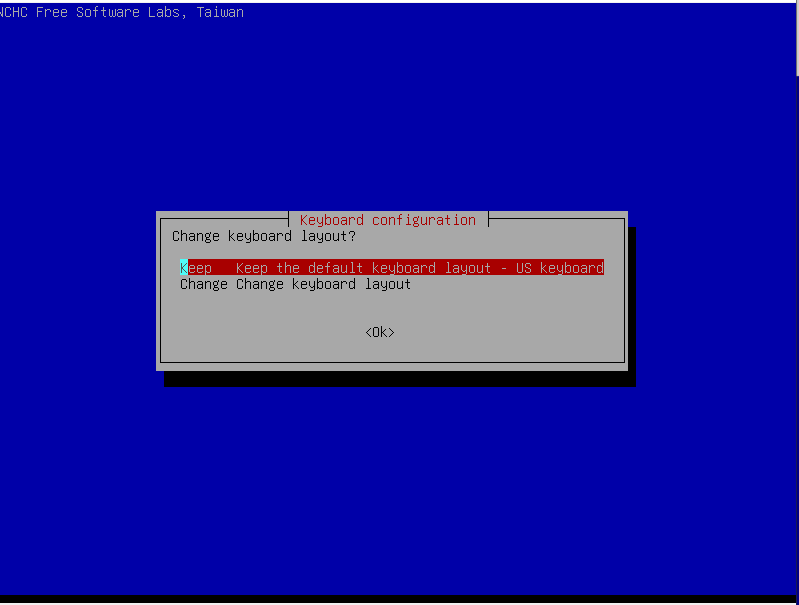
Select the keyboard layout.
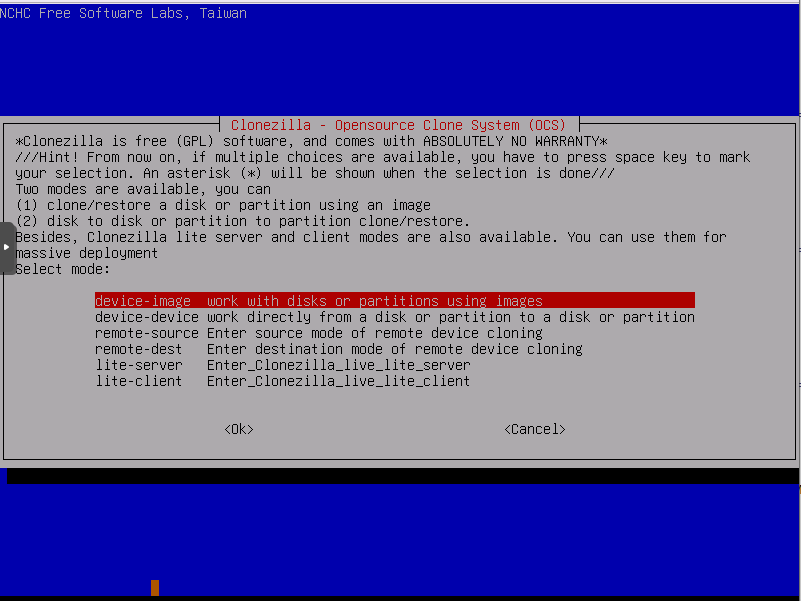
Start Clonezilla
With this option, an image is created. Please note, if the hard drive is 500GB, the new one must also be 500GB or larger, otherwise there are often issues during restoration.
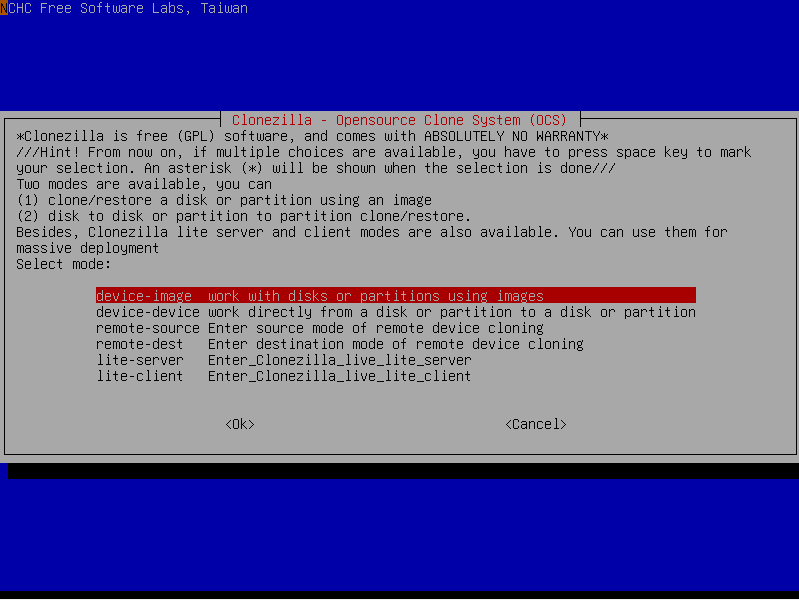
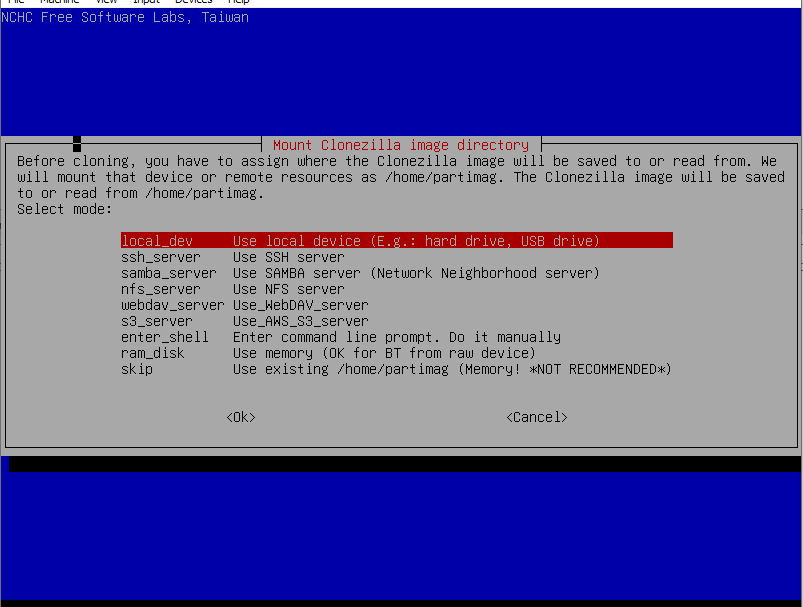
Since we want to save our backup image on a local hard drive or an external hard drive, we will use this option.
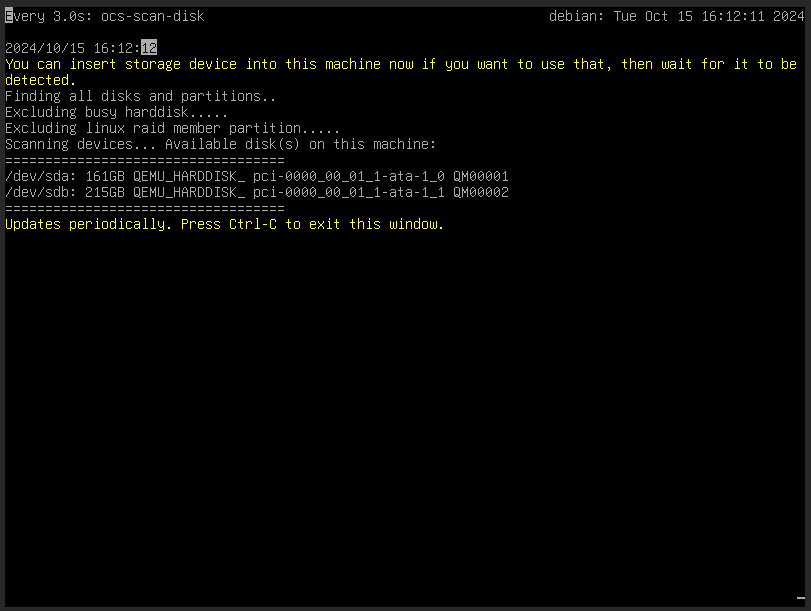
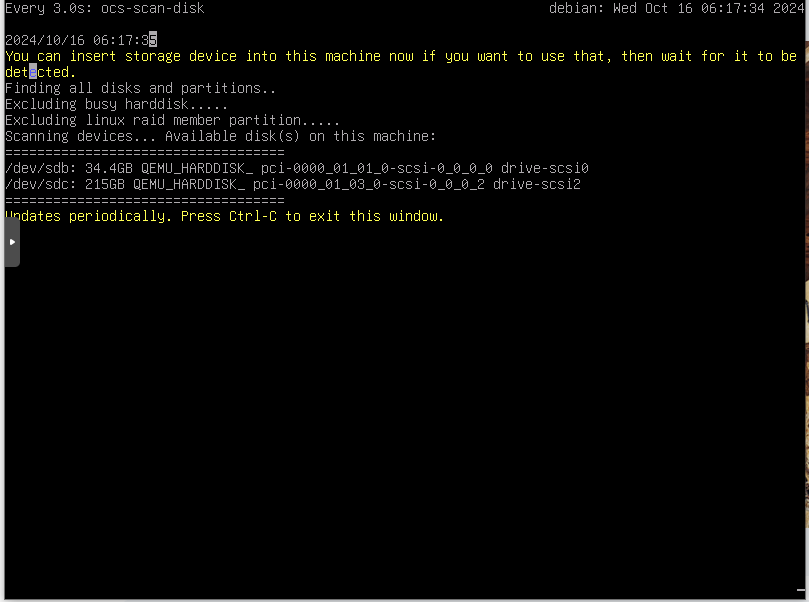
As you can see, the hard drives have been detected. Make sure you know which one contains the operating system. Press Ctrl + C to continue.
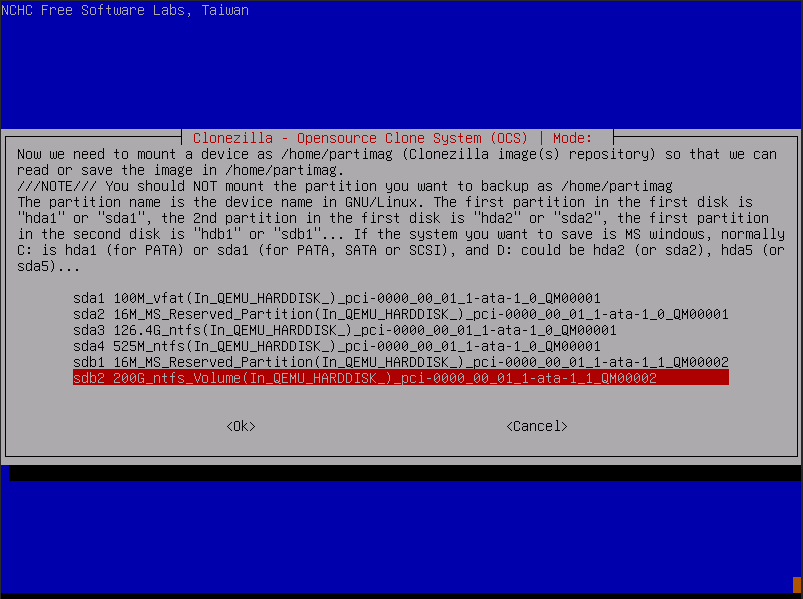
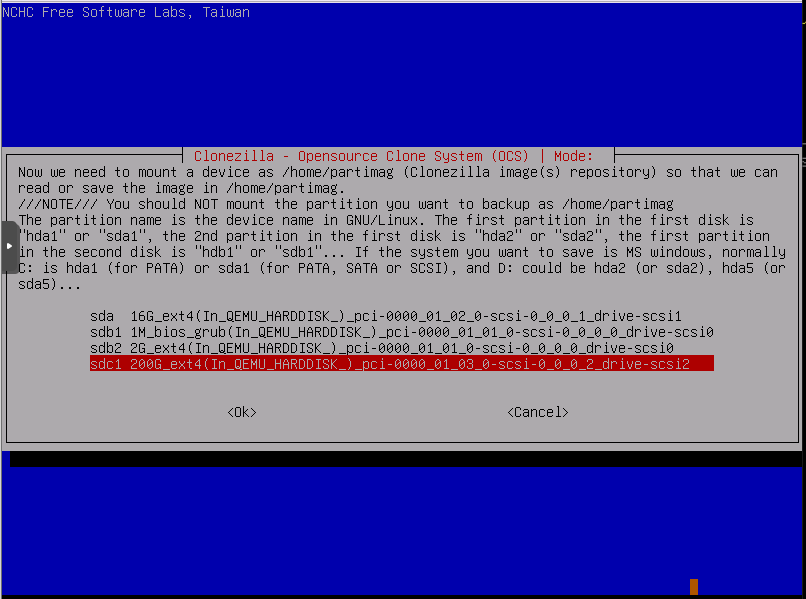
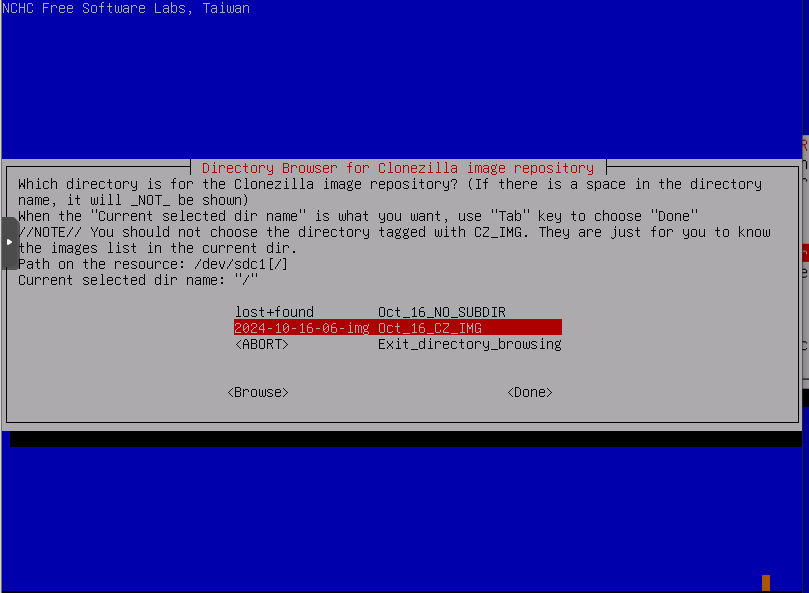
Now you can select the hard drive where you want to save the backup.
Make sure that the hard drive is not formatted as NTFS, as this is a Windows format and Clonezilla only mounts it in 'read-only' mode. I recommend using ext4.
I am skipping the system check since I properly shut down the computer beforehand. However, it is recommended to perform a system check before creating a backup.
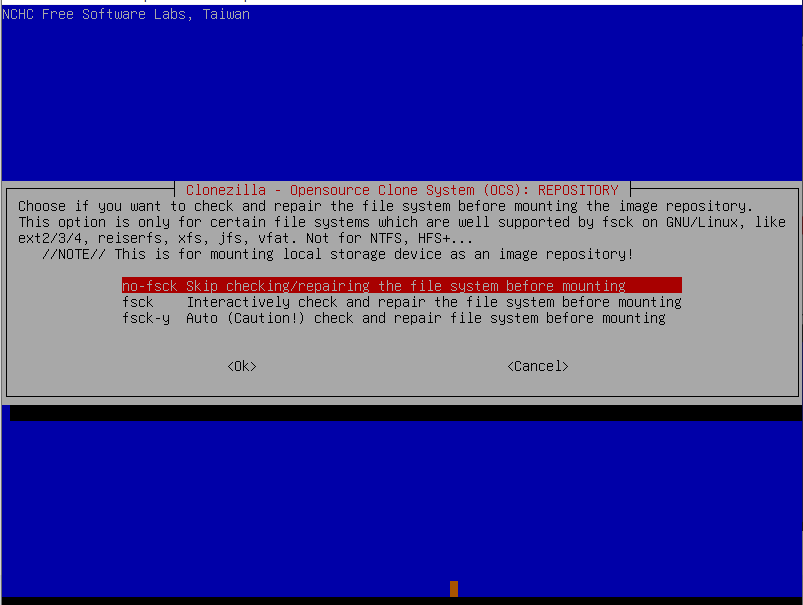
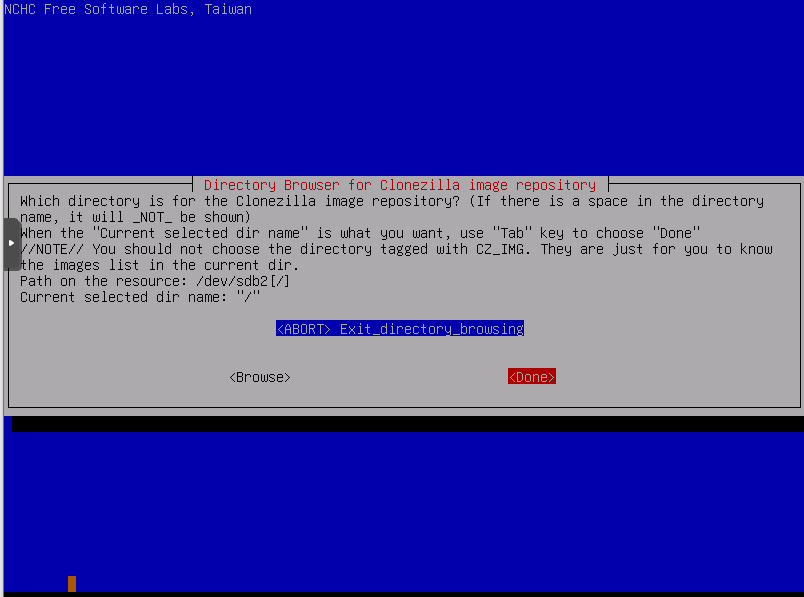
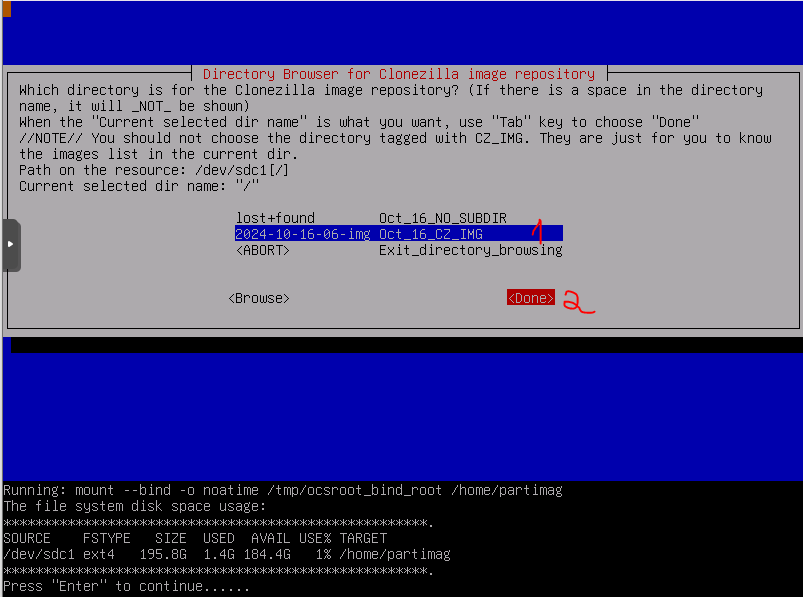
Select Done to continue.
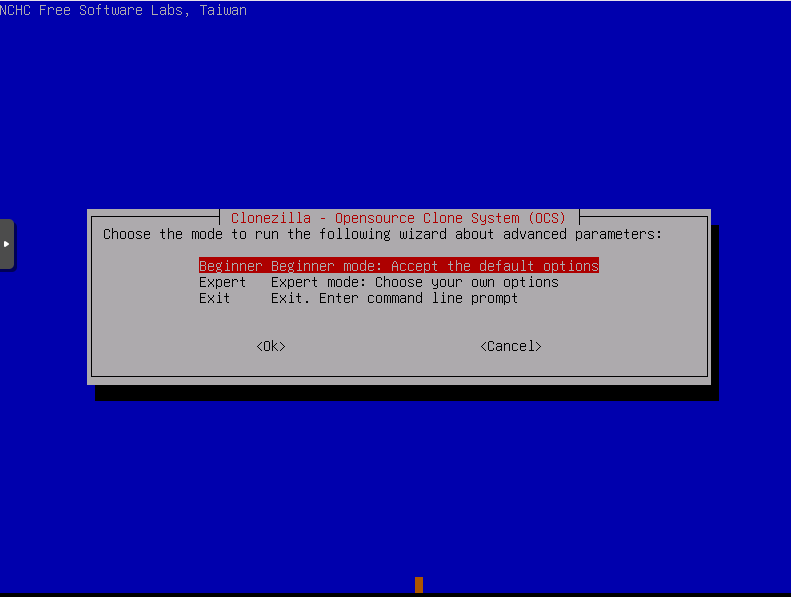
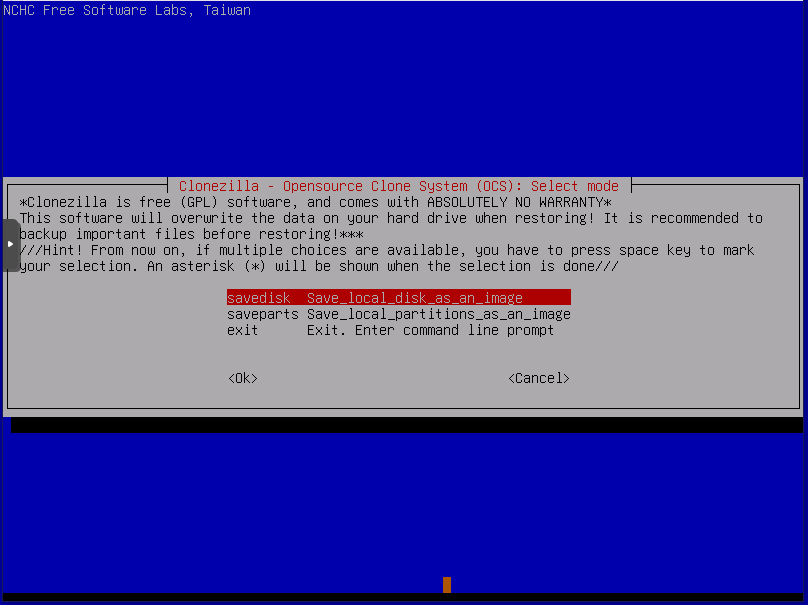
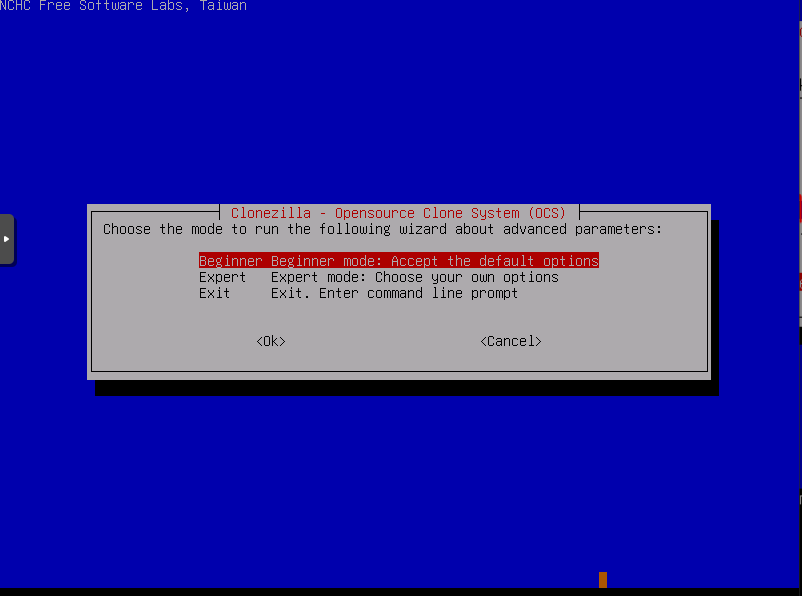
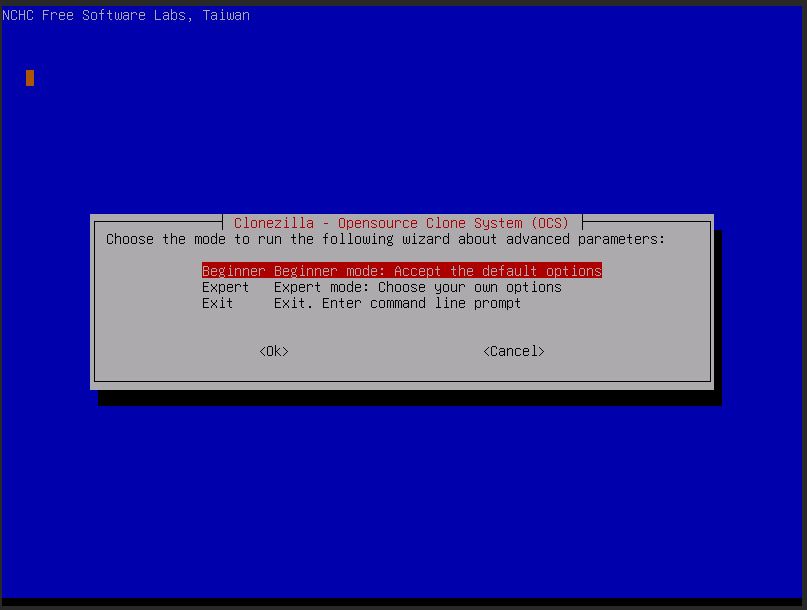
Proceed as a beginner.
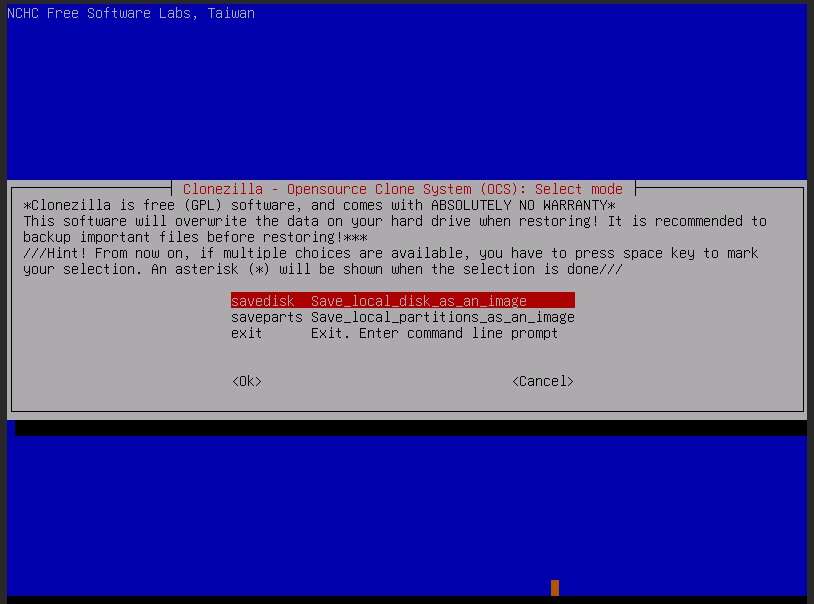
Select savedisk to save the entire disk as an image.
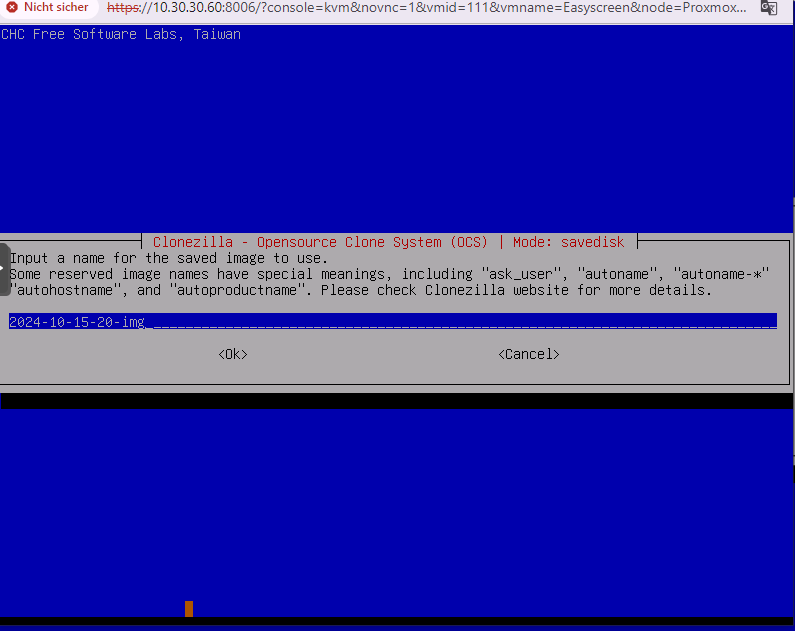
Name the image.
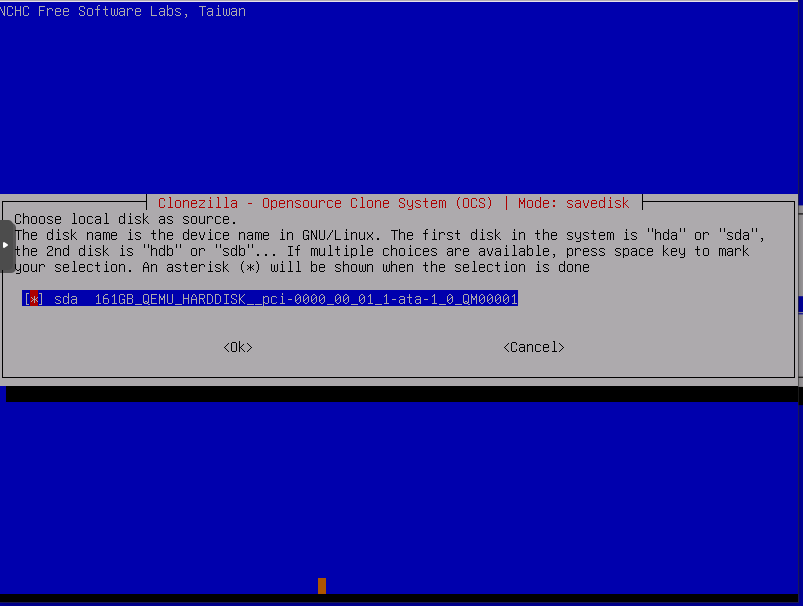
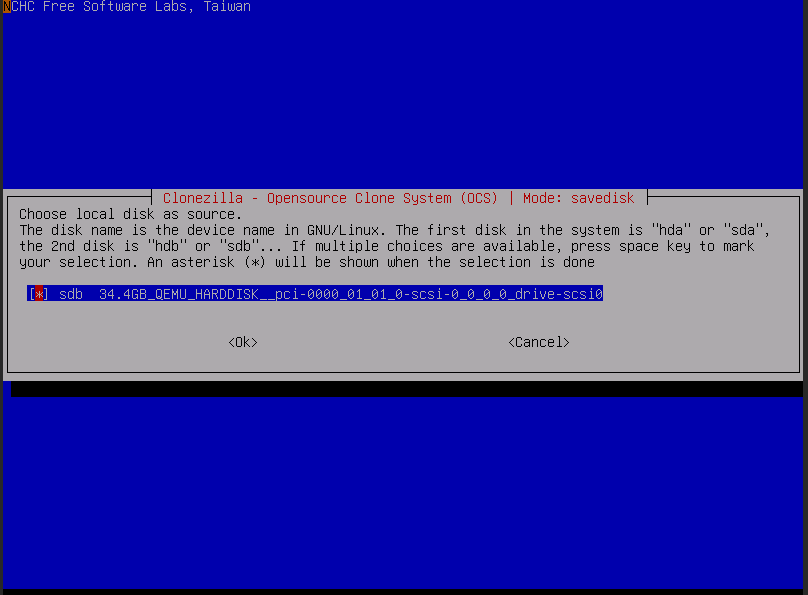
Select the hard drive to back up. If multiple drives are available, you can confirm your selection with the Space bar.
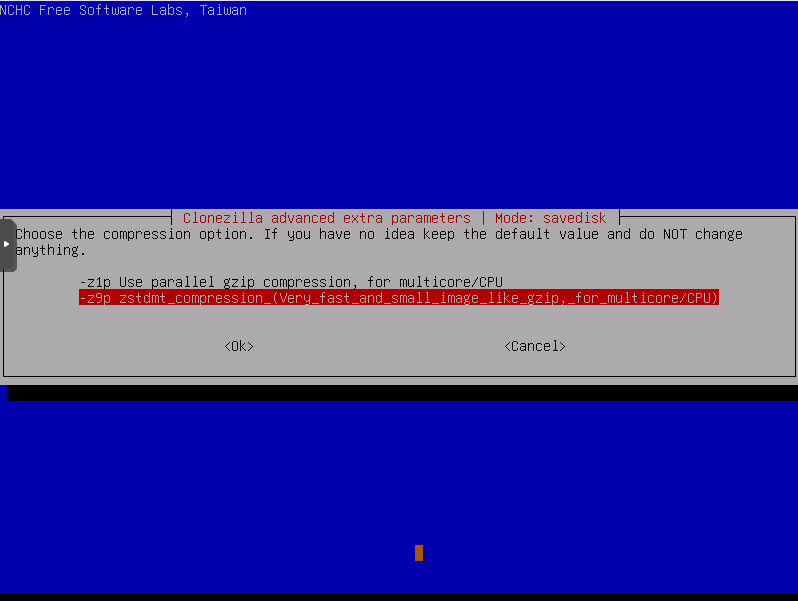
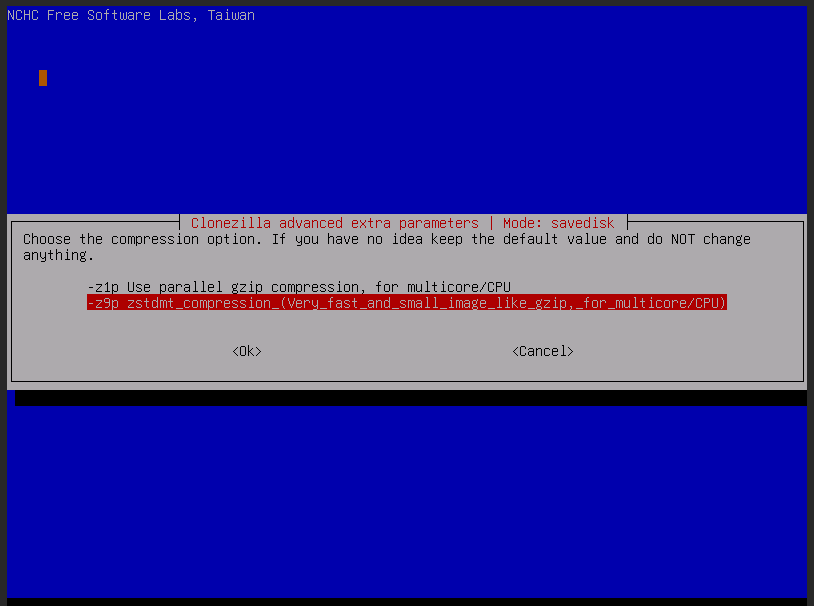
Proceed with this setting.
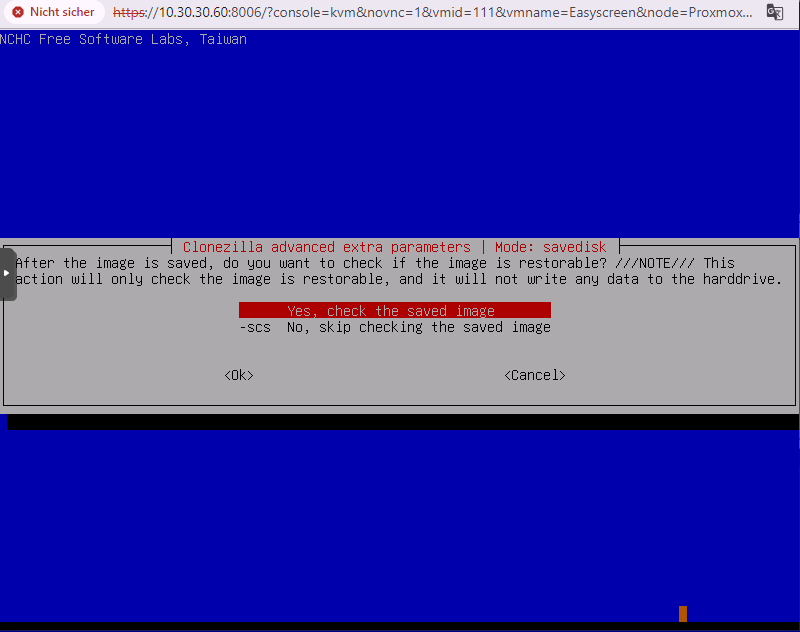
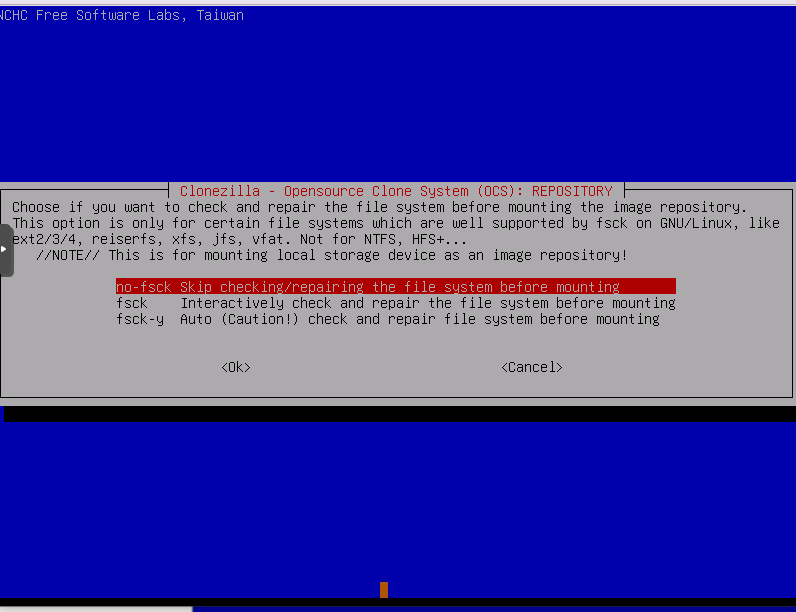
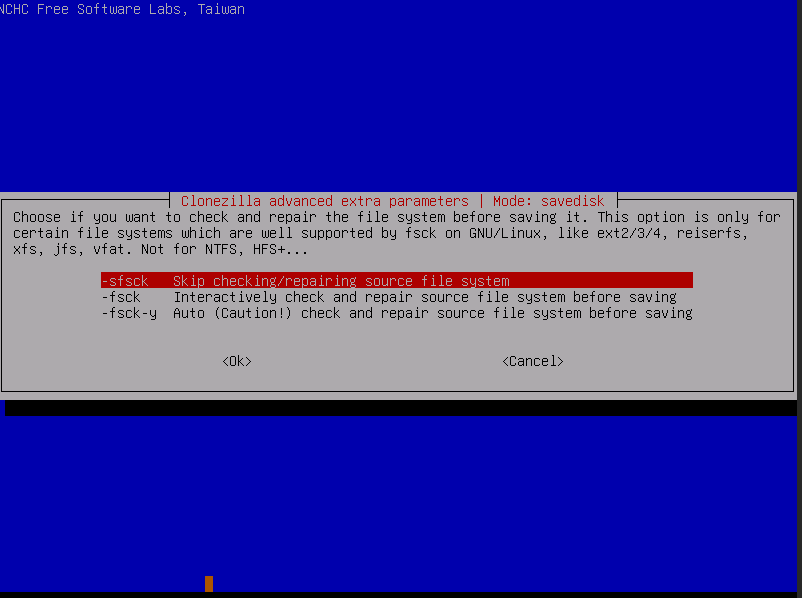
You can skip the file check, but it’s up to you.
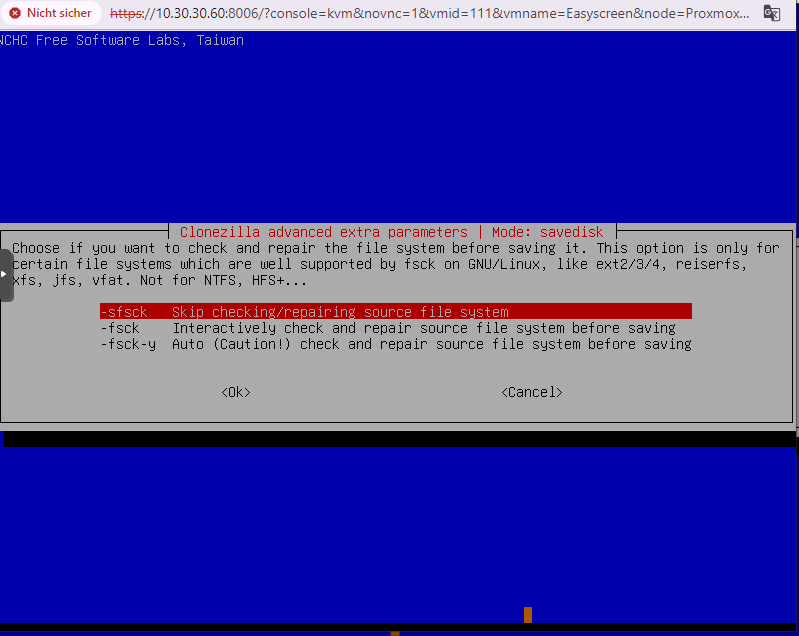
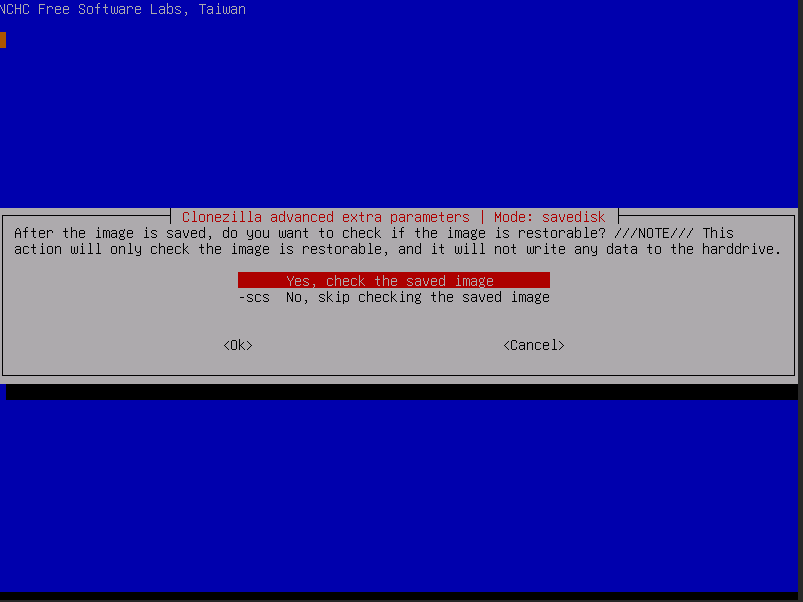
I always do it this way.
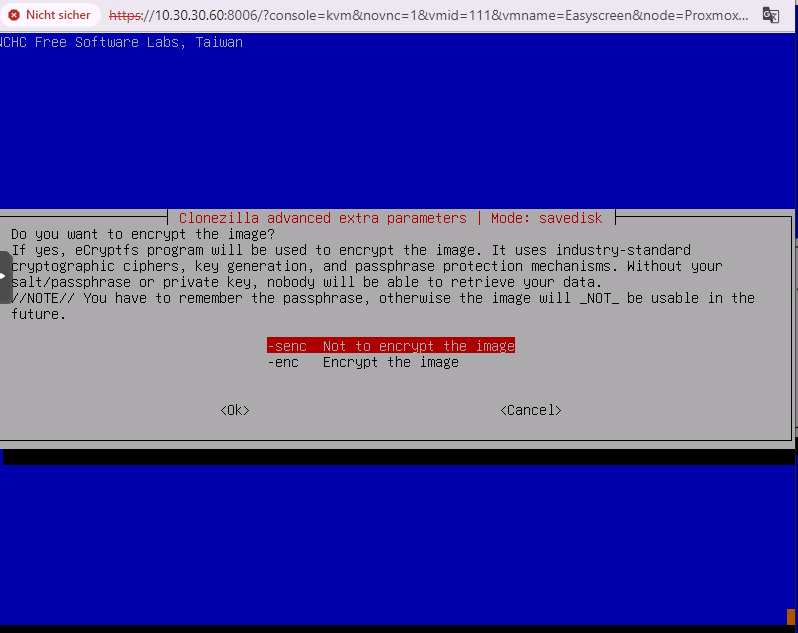
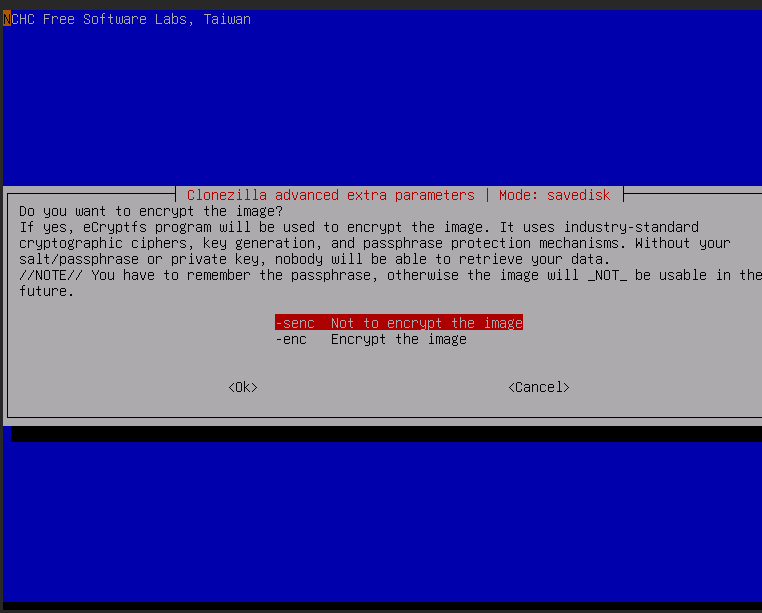
Here you can choose to encrypt the image or not. I never do it.
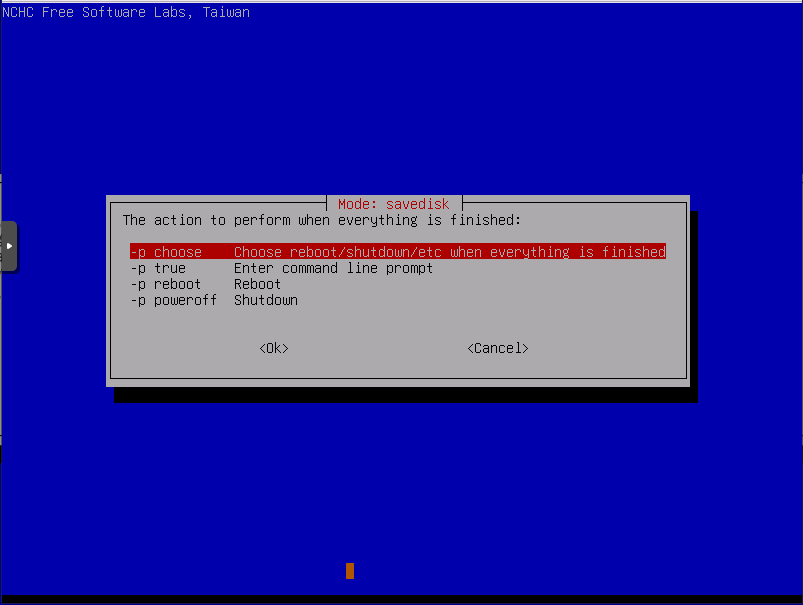
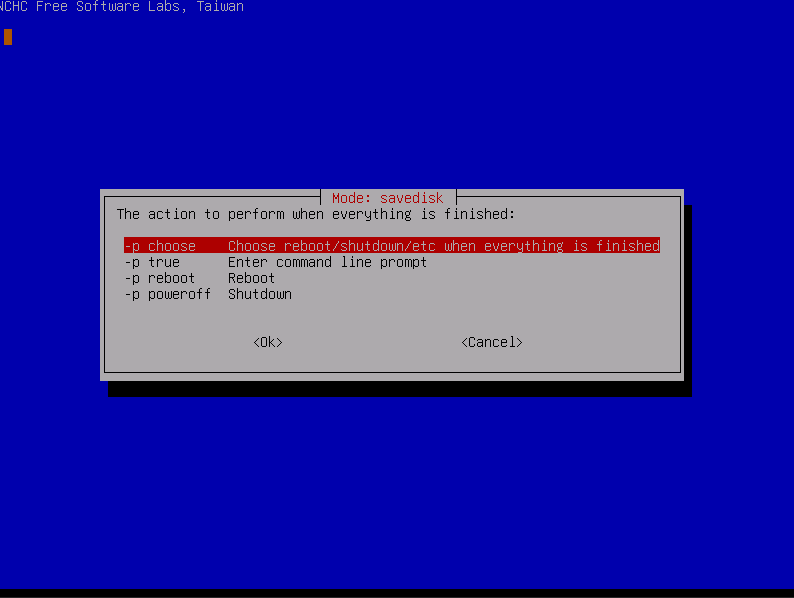
Here you can choose what happens after the installation. I always select the option to shut down the computer afterward.
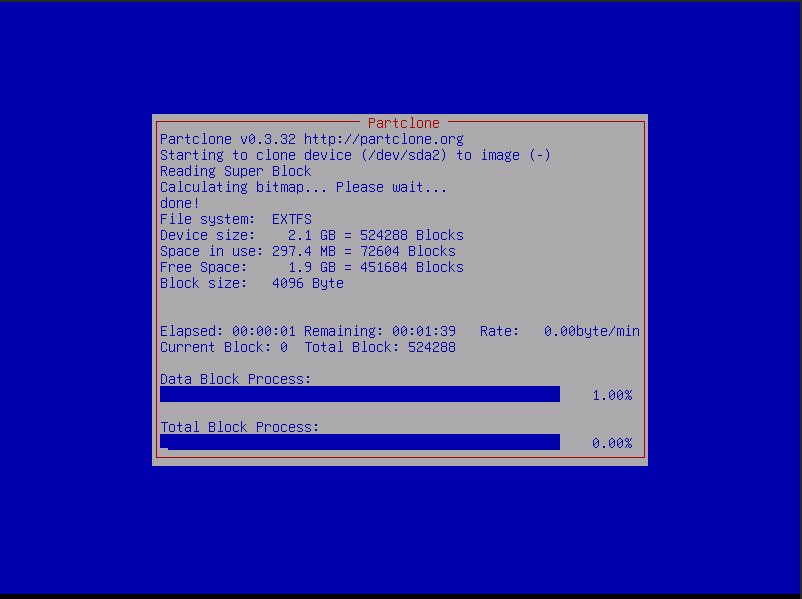
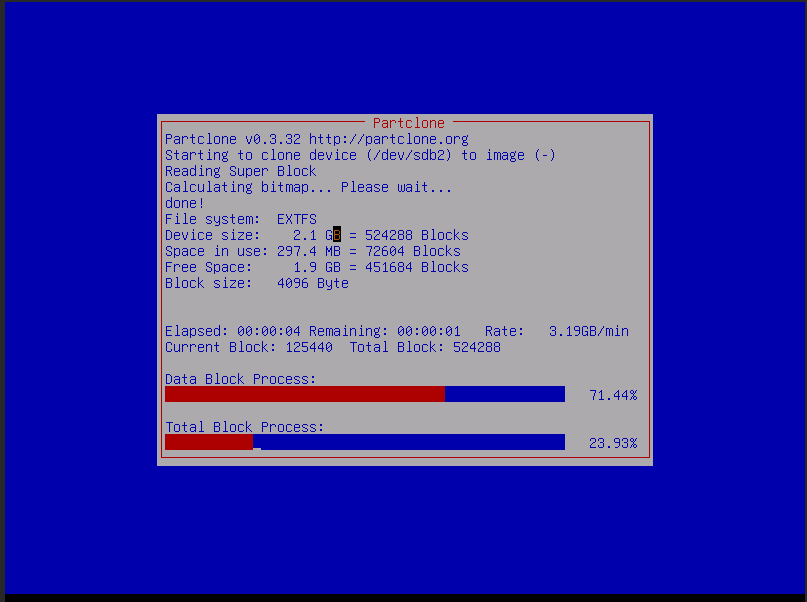
Now wait until everything is completed.
Restore backup
Previously, we saved the backup to a hard drive or an external storage device. Now, we will restore the backup. Start Clonezilla on the computer or VM where you want to restore the backup, and connect the storage device containing the backup.
Select local_dev.
The detected hard drives will be displayed. Proceed by pressing Ctrl + C.
Select the hard drive where the backup is stored.
Click through all the options to proceed.
Select the backup you previously created.
Proceed again as a beginner.
Select savedisk.
Here you can see the selected image again.
Select the hard drive where the system will be restored.

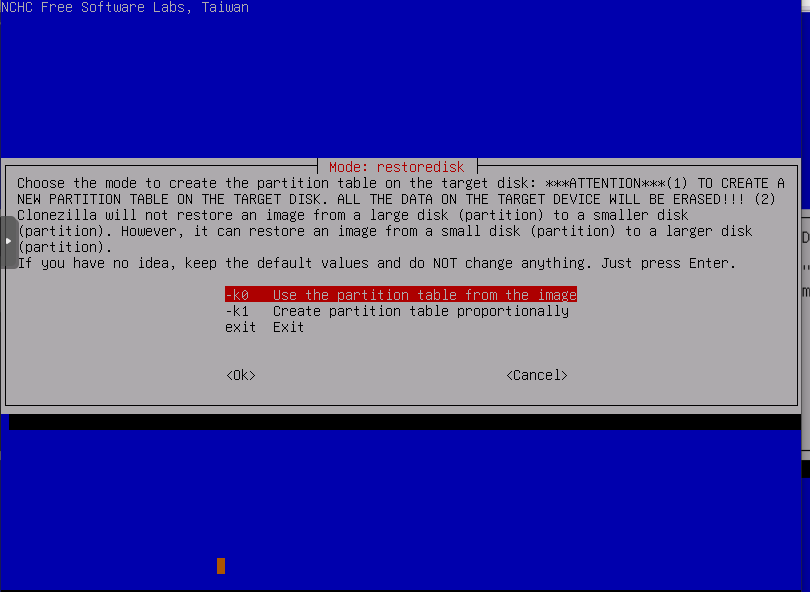
Use this setting, otherwise the operating system may not boot.
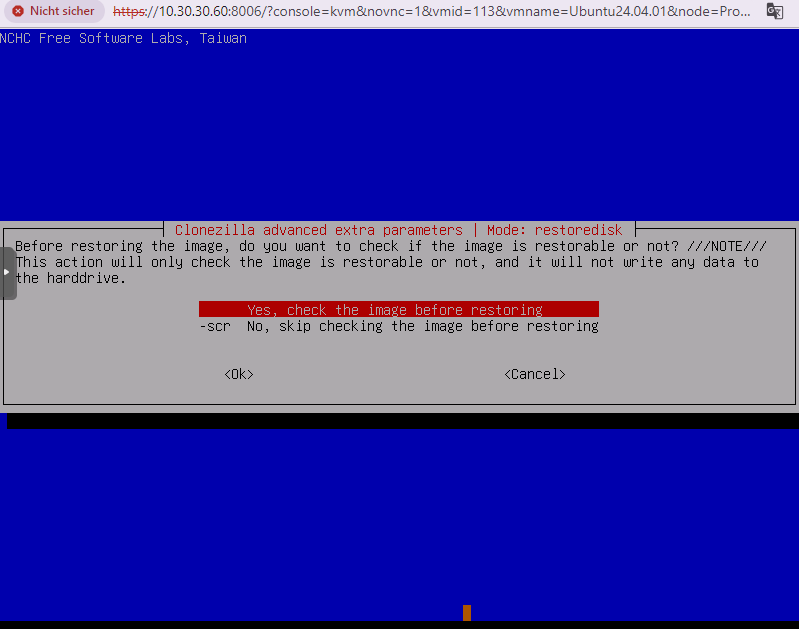
I recommend checking it to ensure everything is correct.
The image is being restored. Afterward, check the BIOS or UEFI to ensure the boot order is correct.

Use SSH for storage
This method is best suited for the migration of virtual machines, as it is tedious to integrate external storage media into a virtual machine. Therefore, it is best to create a Linux VM (Debian or Ubuntu) in the virtual environment, assign enough storage space, and then store the image here temporarily.
Prepare the machine and make sure that the desired user is allowed to connect to the machine via SSH and has read and write permissions.
For my test, I am using the Raspbian OS 32-bit, which is essentially a Debian system.
I will create a folder in advance where I will store my backup, and in doing so, I can immediately check if my user has the necessary permissions and if the SSH connection is working. I am using the software WinSCP for this, which you can download here.
I will store the backup in /mnt/data/ .

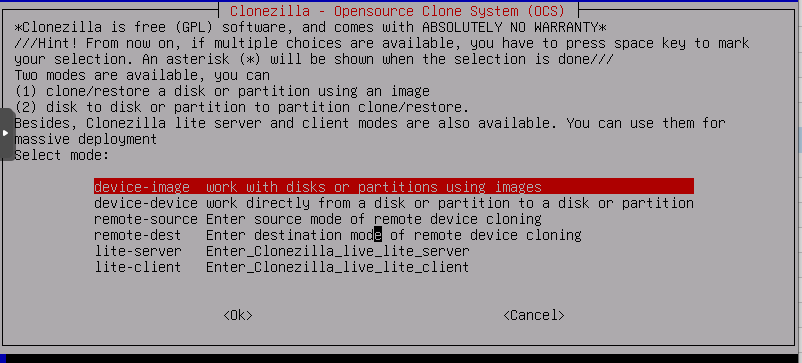
Now we start Clonezilla again and follow the instructions, such as selecting the language, etc., until this point, and then choose 'device-image'.
Select ssh server.

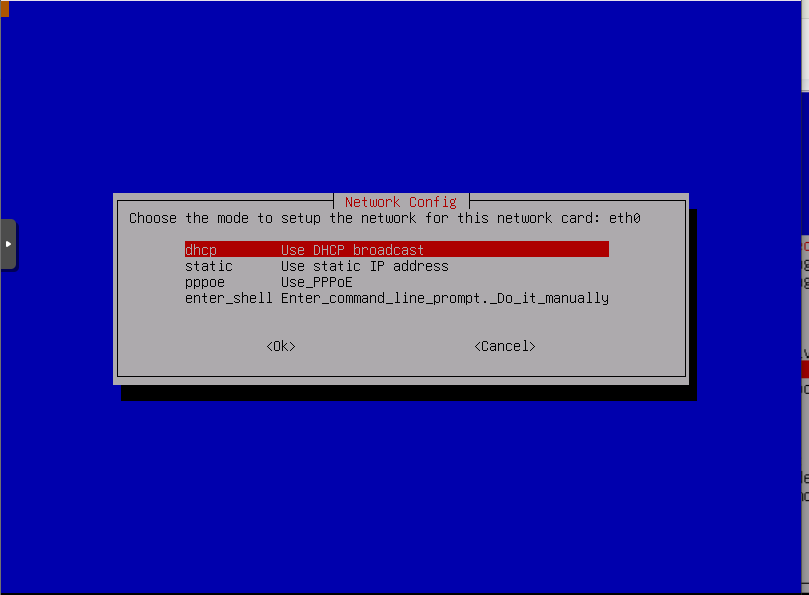
A DHCP server is running in my network, so I am using DHCP.
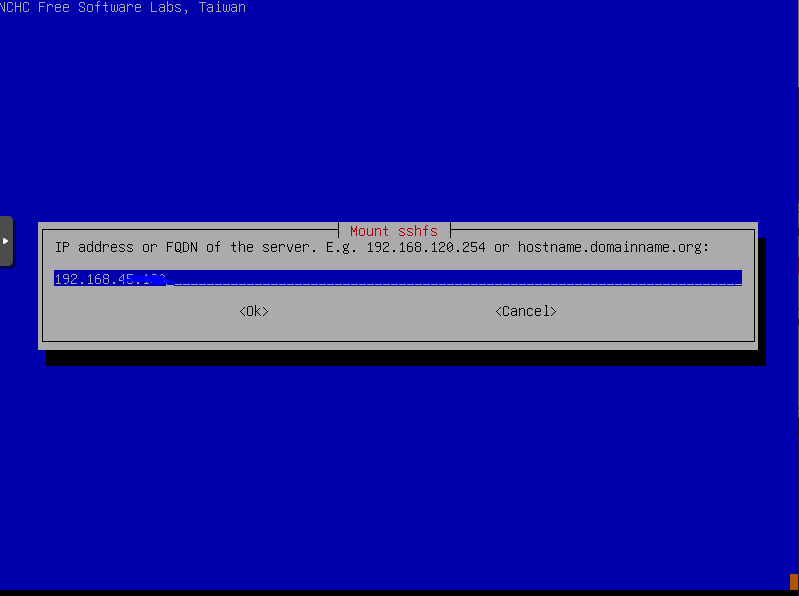
Here, I enter the IP address of the server where I want to store my image via SSH.
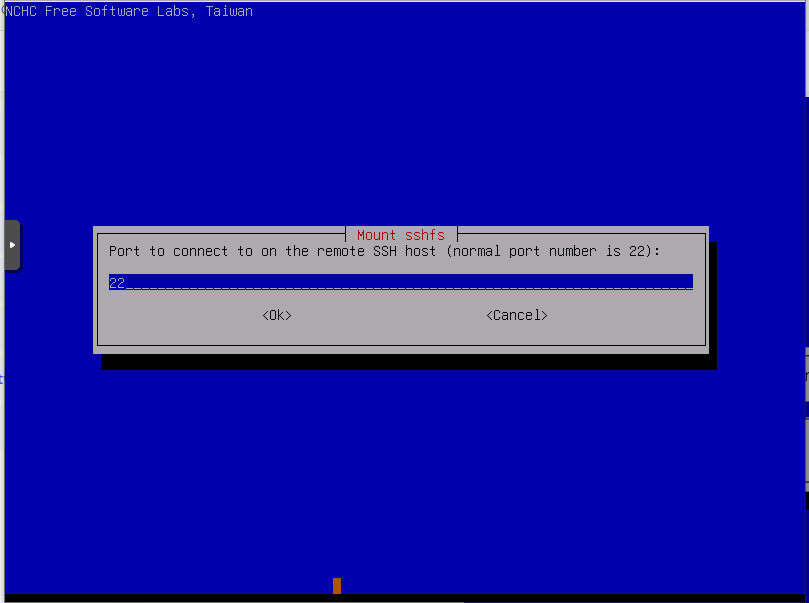
This is the default SSH port, which should be the same for you unless you intentionally changed it on your Linux system.
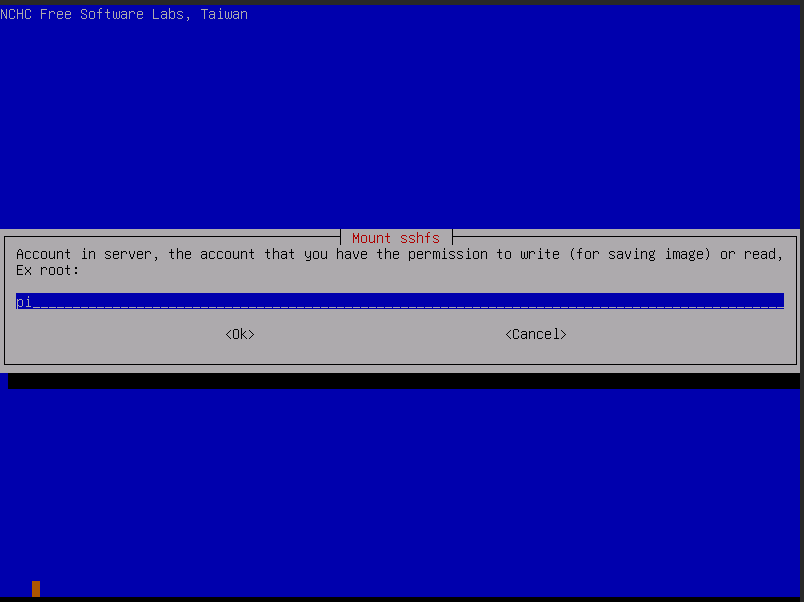
Enter the user who has access to the SSH server. In my case, it's a Raspbian OS, so the user is 'pi'.
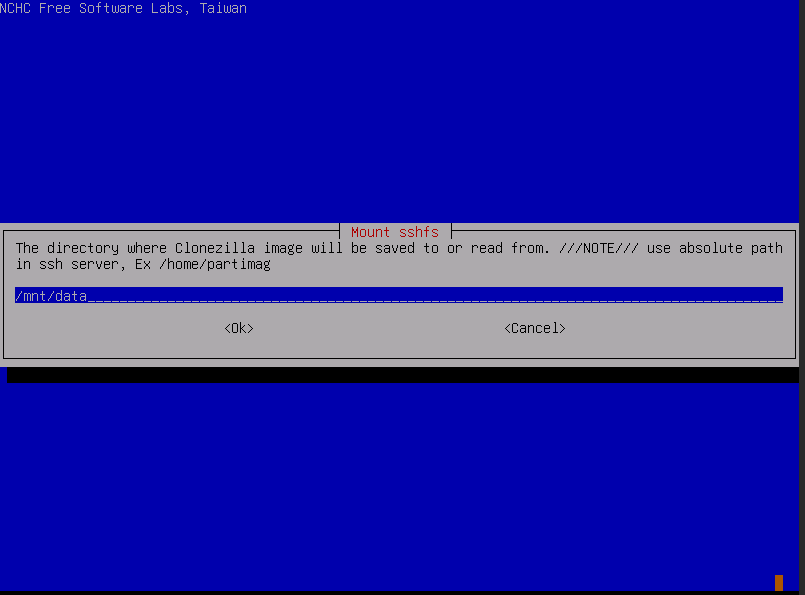
As shown above, this is the path to the storage location where I want to save my backup.
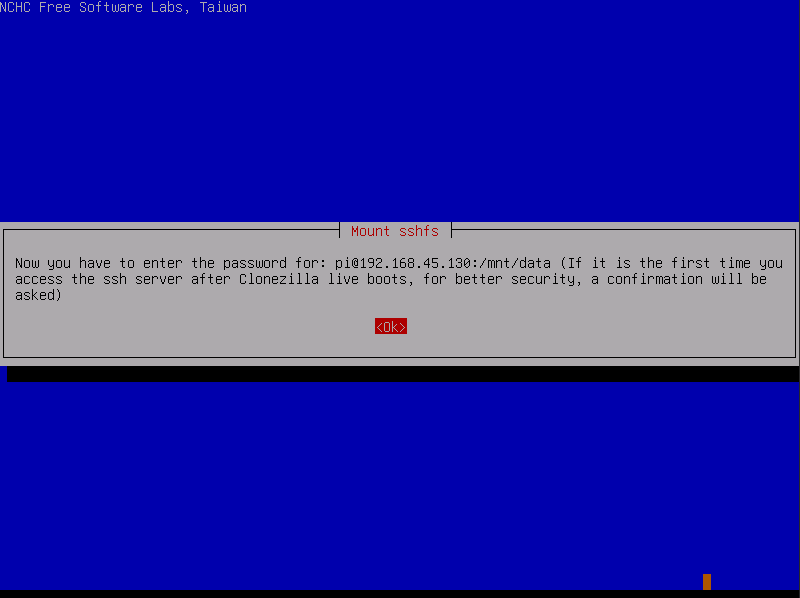
Now the user's password is requested.
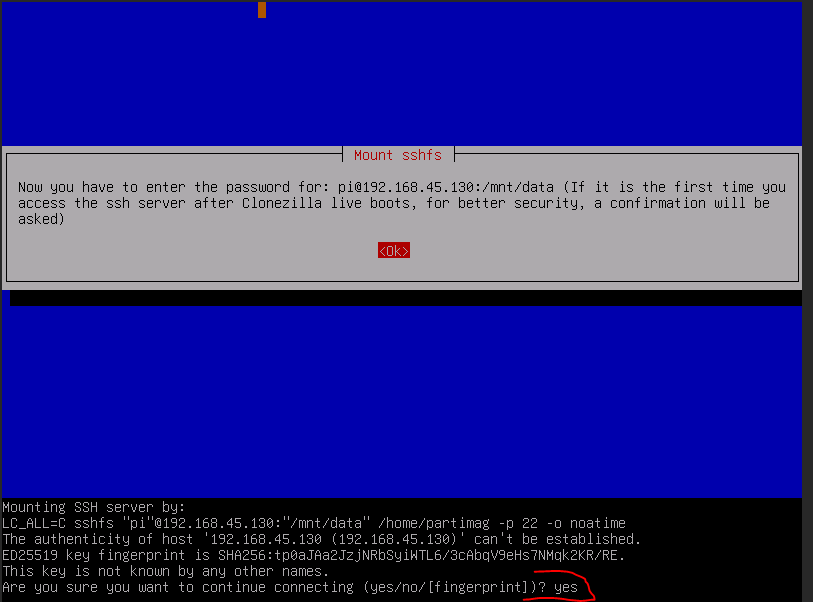
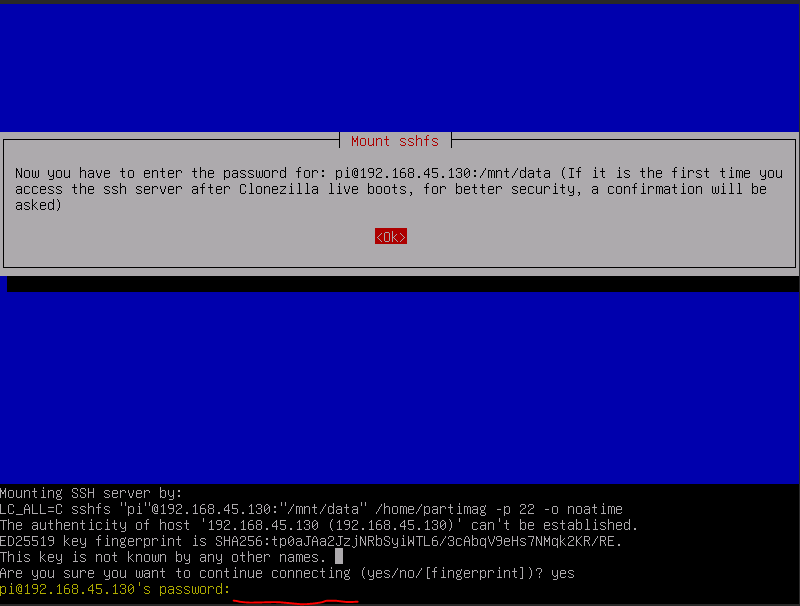
After successfully entering the password, proceed as a Beginner.
Select 'savedisk'.
Name your image.

Select the hard drive you want to back up.
Go on with...
Now we restore the backup via SSH
Now we start Clonezilla again on the VM or computer where we want to restore the backup and go back to the point 'SSH-Server'.
Connect again to the SSH server as described above, and re-enter the path to the folder where the backup is located.
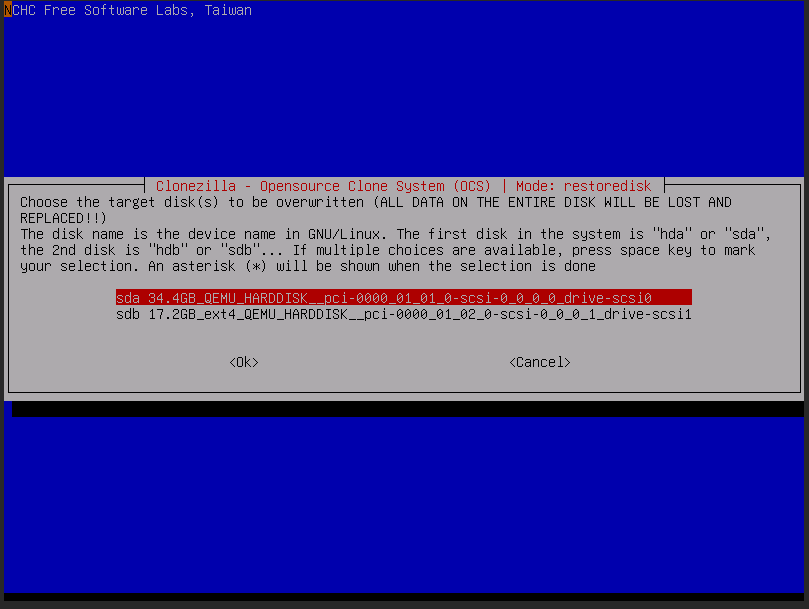
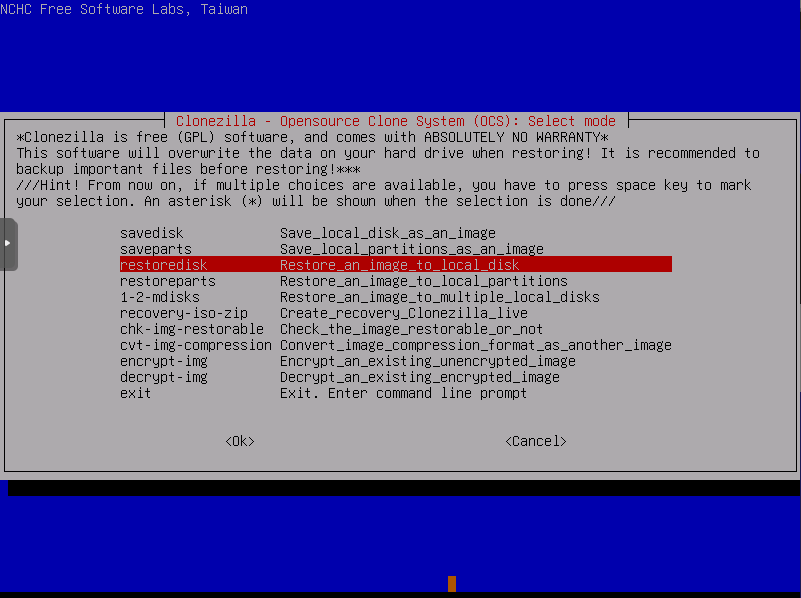
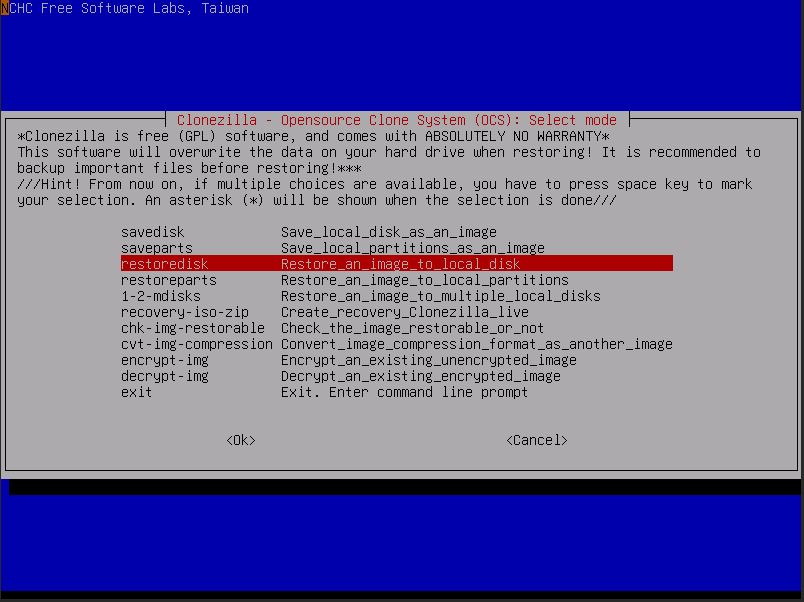
After you have done all this, the same screen will appear again, and select 'restoredisk'.
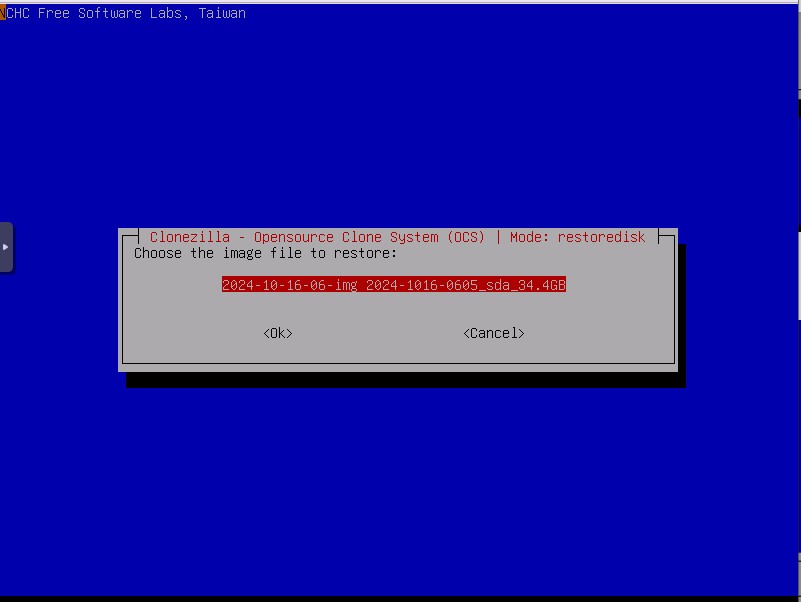
The backup will be displayed, and you can select it.

Select the hard drive on which the backup will be restored. The following steps are self-explanatory, but if you still need help, you can refer to the upper section where all the steps required to restore a backup are explained, using the example with the external hard drive.